Roscoe Rescue

A while back I made a True Bias Roscoe blouse from some lovely hemp/tencel shirting. I added sleeve slits in the style of the neck slit, but eventually the “V” corners of all three burst into frayed, thread-y chaos. I unpicked the shirt and saved the fabric, and it sat in my scrap box, untouched, until recently. Then I had an epiphany. What’s the most efficient use of the fabric salvaged from a Roscoe blouse? Ta-da: another, trivially smaller Roscoe blouse!   

This is truly a beginner-friendly pattern. Straightforward to fit, cut, and sew, and I can pretty much guarantee it won’t warp out of shape, or if it does it doesn’t matter (these pieces got HANDLED). My original was sewn with French seams, which I had trimmed. I lost about ¼” per seam – 1/8” each from the raglan sleeve and front bodice on the right side, same on the left, and so on – but I wasn’t concerned about reducing the circumference by an inch or so.

It’s still not small! I’m pretty sure I started at the smallest available size, too. I should have sewn something between a 6 and an 8, based on my chest measurement, but this is probably a -1, and it’s fine.

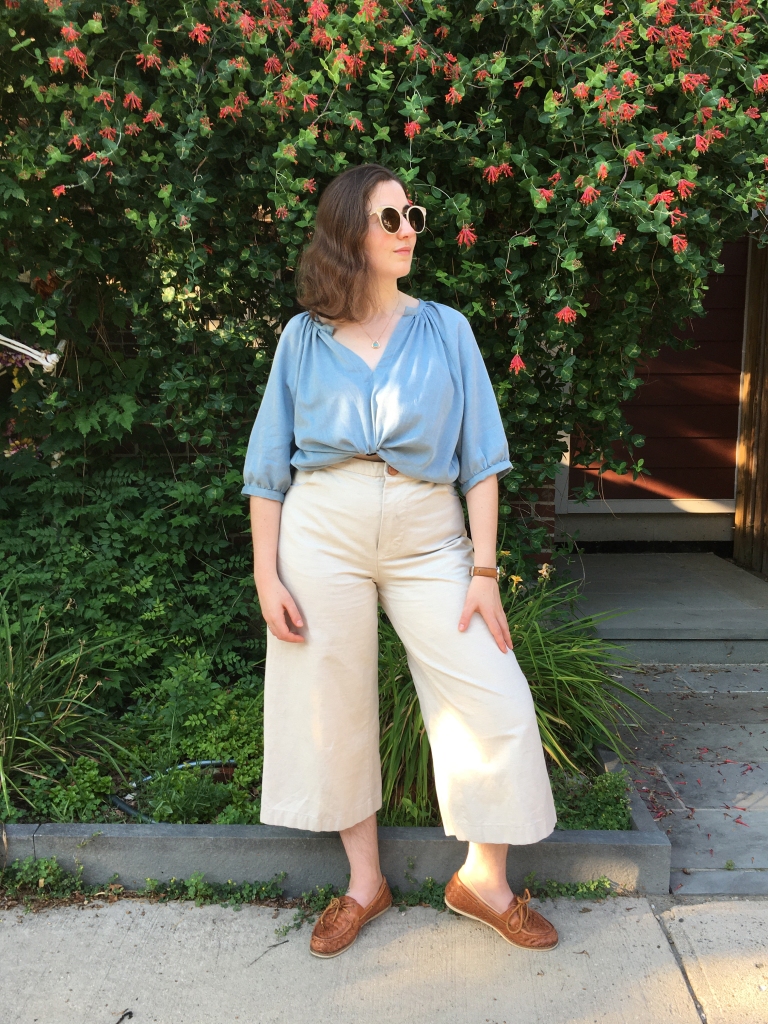
Because of the simple shape and the loose cut, my remake differs from its parent blouse in only one obvious way – the sleeve length.

I cut above my frayed sleeve slits, following the curve at the end of the sleeve pattern. I then had 4 pieces of useable scrap fabric, each half as wide as one sleeve and about 6” tall, to cut everything I needed. The original cuffs and bindings sadly hadn’t survived unpicking. So, from scraps, that’s:

  1. Sleeve cuffs. Mine are pieced (once on the left, twice on the right), and about 3” longer than drafted. My new sleeve hem hit right about at my elbow and I needed room to bend, so the sleeves are also less gathered.
  2. A neck binding – for best results, cut on, ahem, the true bias. Mine is more like 60°.
  3. A neck facing, which I made longer and wider than the pattern called for. Longer was a necessity – I had to sew past where my first slit had frayed. Wider was a choice – I found it easier to press and sew.

I had some cotton lawn in an almost identical color on standby but I just squeaked out everything I needed!

The only sewing challenge was facing the neck with the slit already slit…ted. Slitted. Slite? I whip-stitched it shut and added a small square of interfacing over my new “cut to here” point, something I had failed to do the first time. I should have interfaced the facing piece, too, but I forgot! I sewed with the shirt side up, pivoting 1” past the original cut point, and then treated it exactly as usual.

It’s deeper and wider than the original draft but I’ve got the space! As per Shakira, you’re not going to confuse dem thangs with mountains.

The neck binding doesn’t curve as smoothly as should if it were cut at 45°, but I worked with what I had. I hand-sewed the second edge of it and of the sleeve cuffs; the gathering conceals my stitches that strayed through the outer fabric. Thanks, gathers, you’re a pal. I don’t like sewing you (I JUST DON’T) but I like wearing you just fine!

I miss the full pirate glamour of the longer sleeves but a wearable blouse is better than none. And fun fact: the sleeve cuffs are a little bulky, because the sleeves are hemmed inside. They’re actually baby-hemmed because I thought I would skip the gathering for a different silhouette, but I later changed my mind, and just gathered the hemmed ends and shoved them into cuffs. It’s a completely reversible decision. Secret baby hems! I never actually unpicked the shirt’s original baby hem either, so I got to salvage that from my first version, whoop whoop!

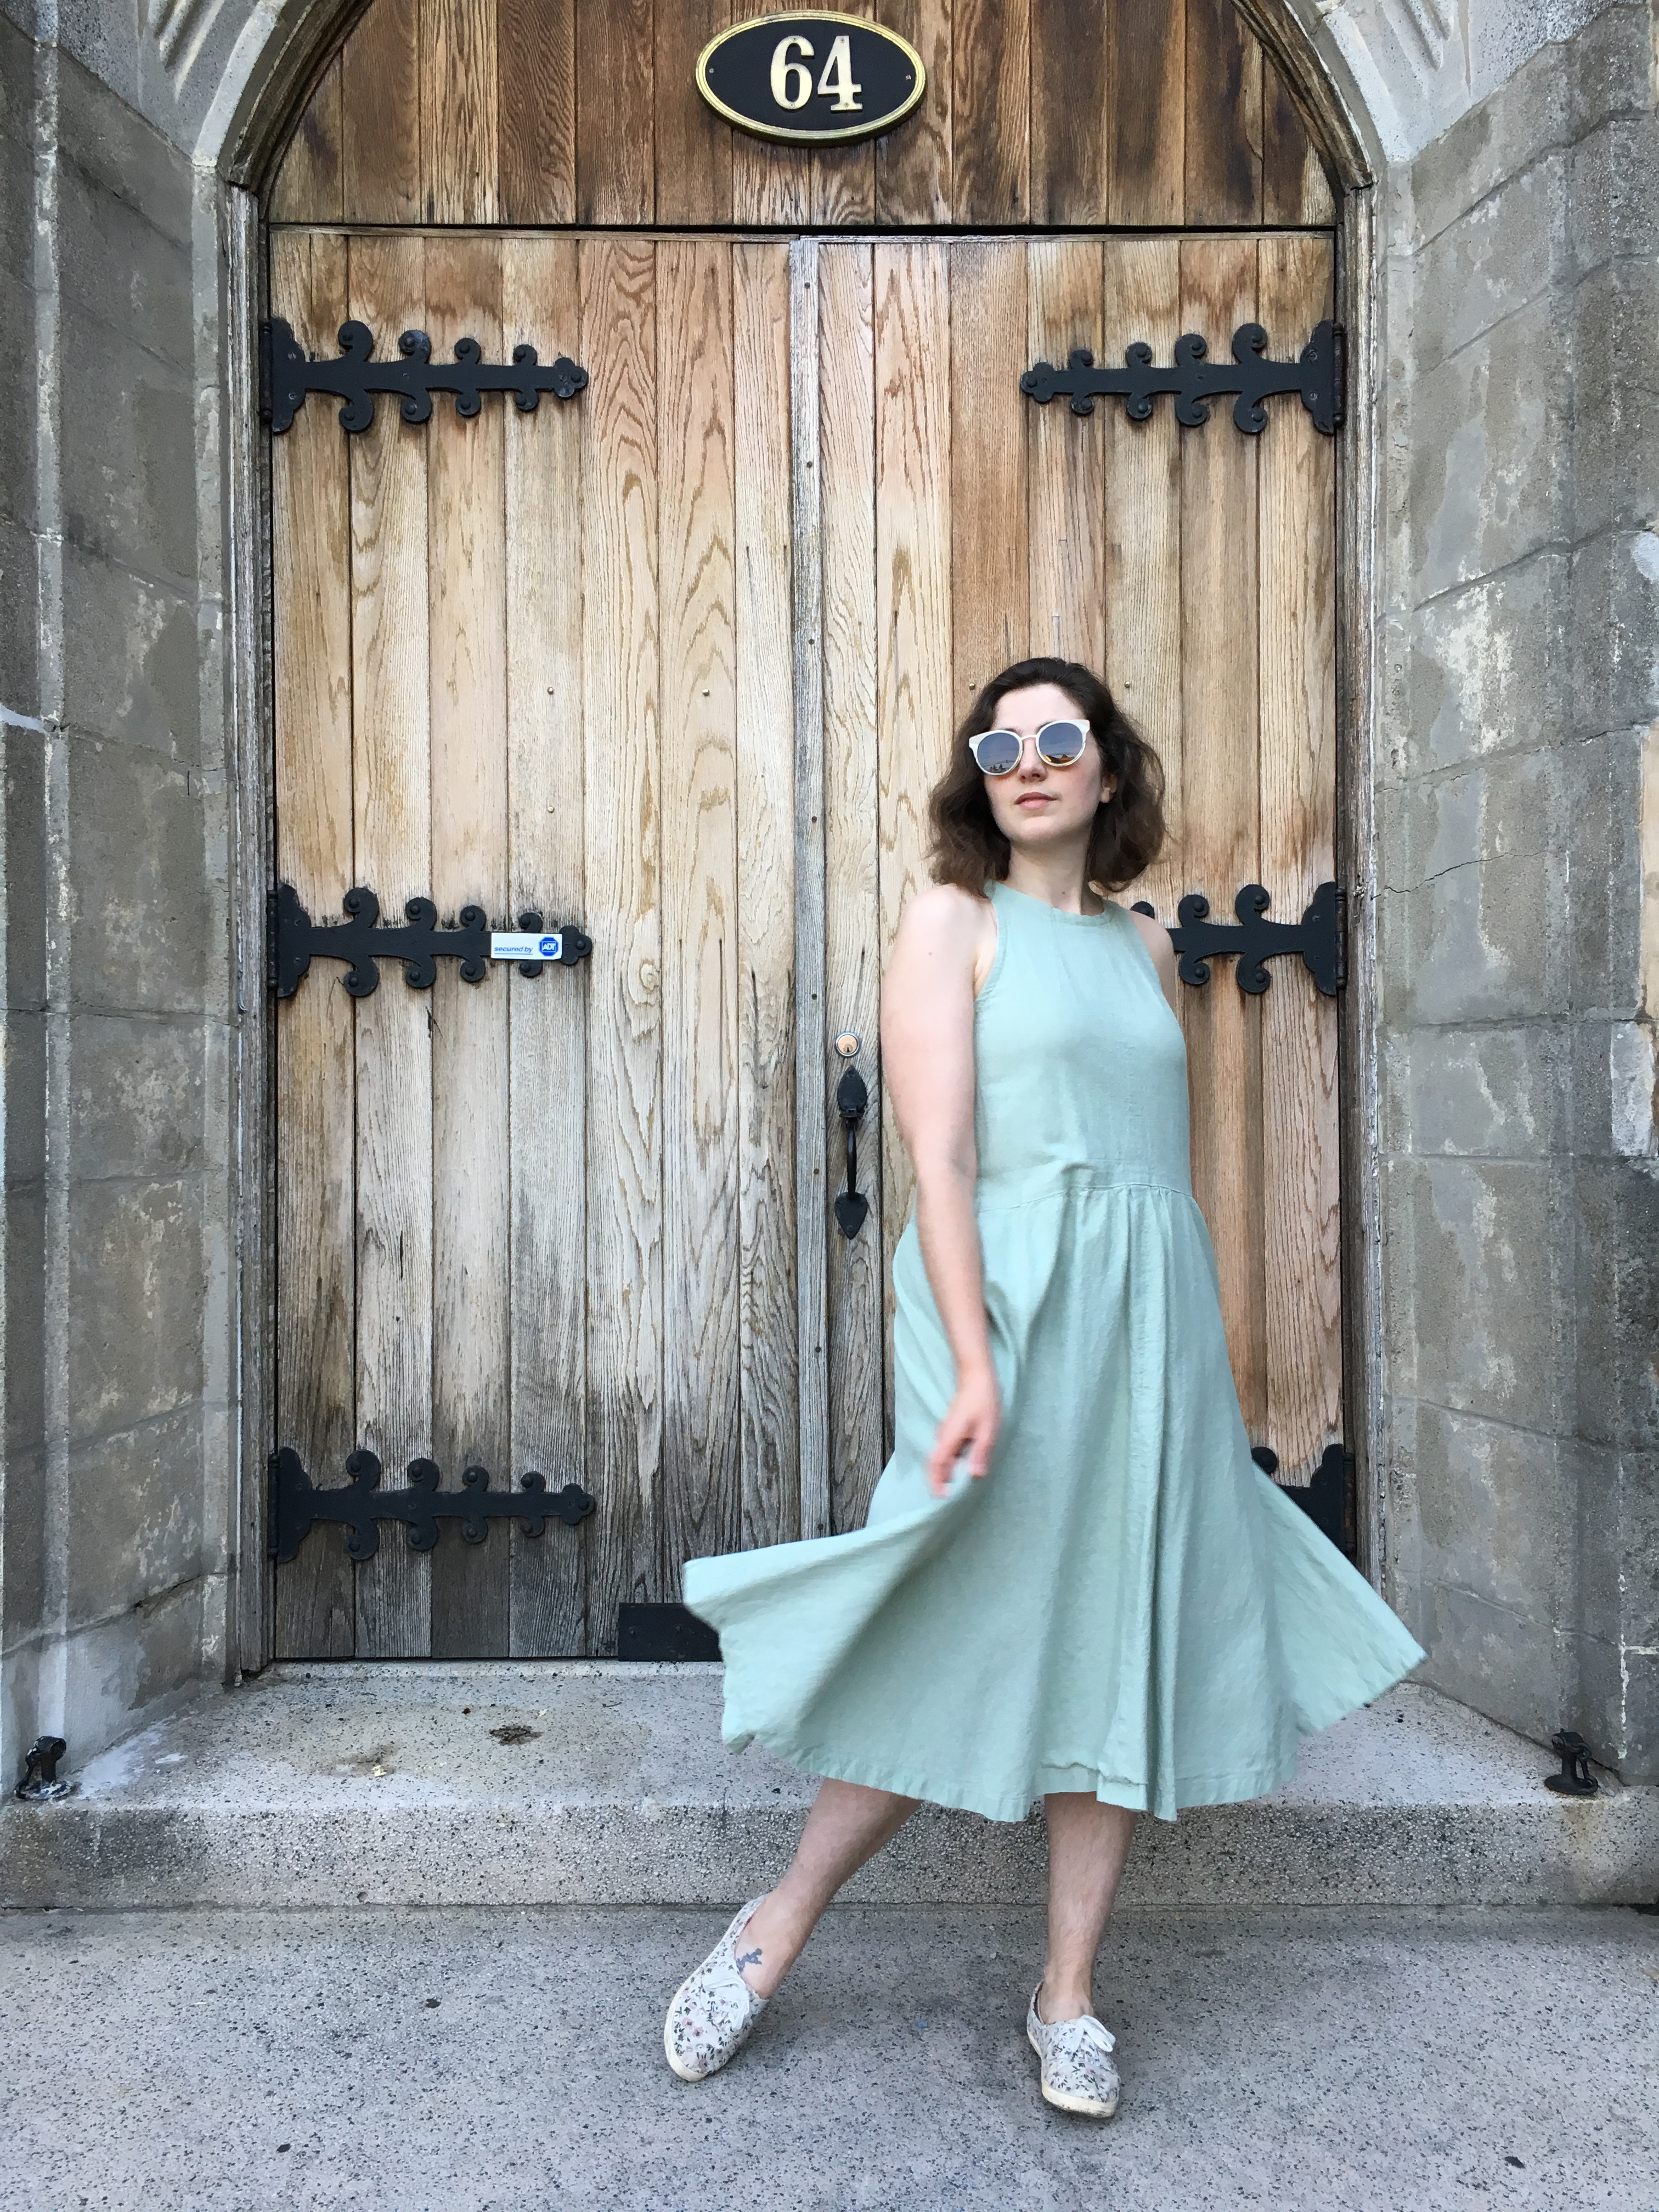
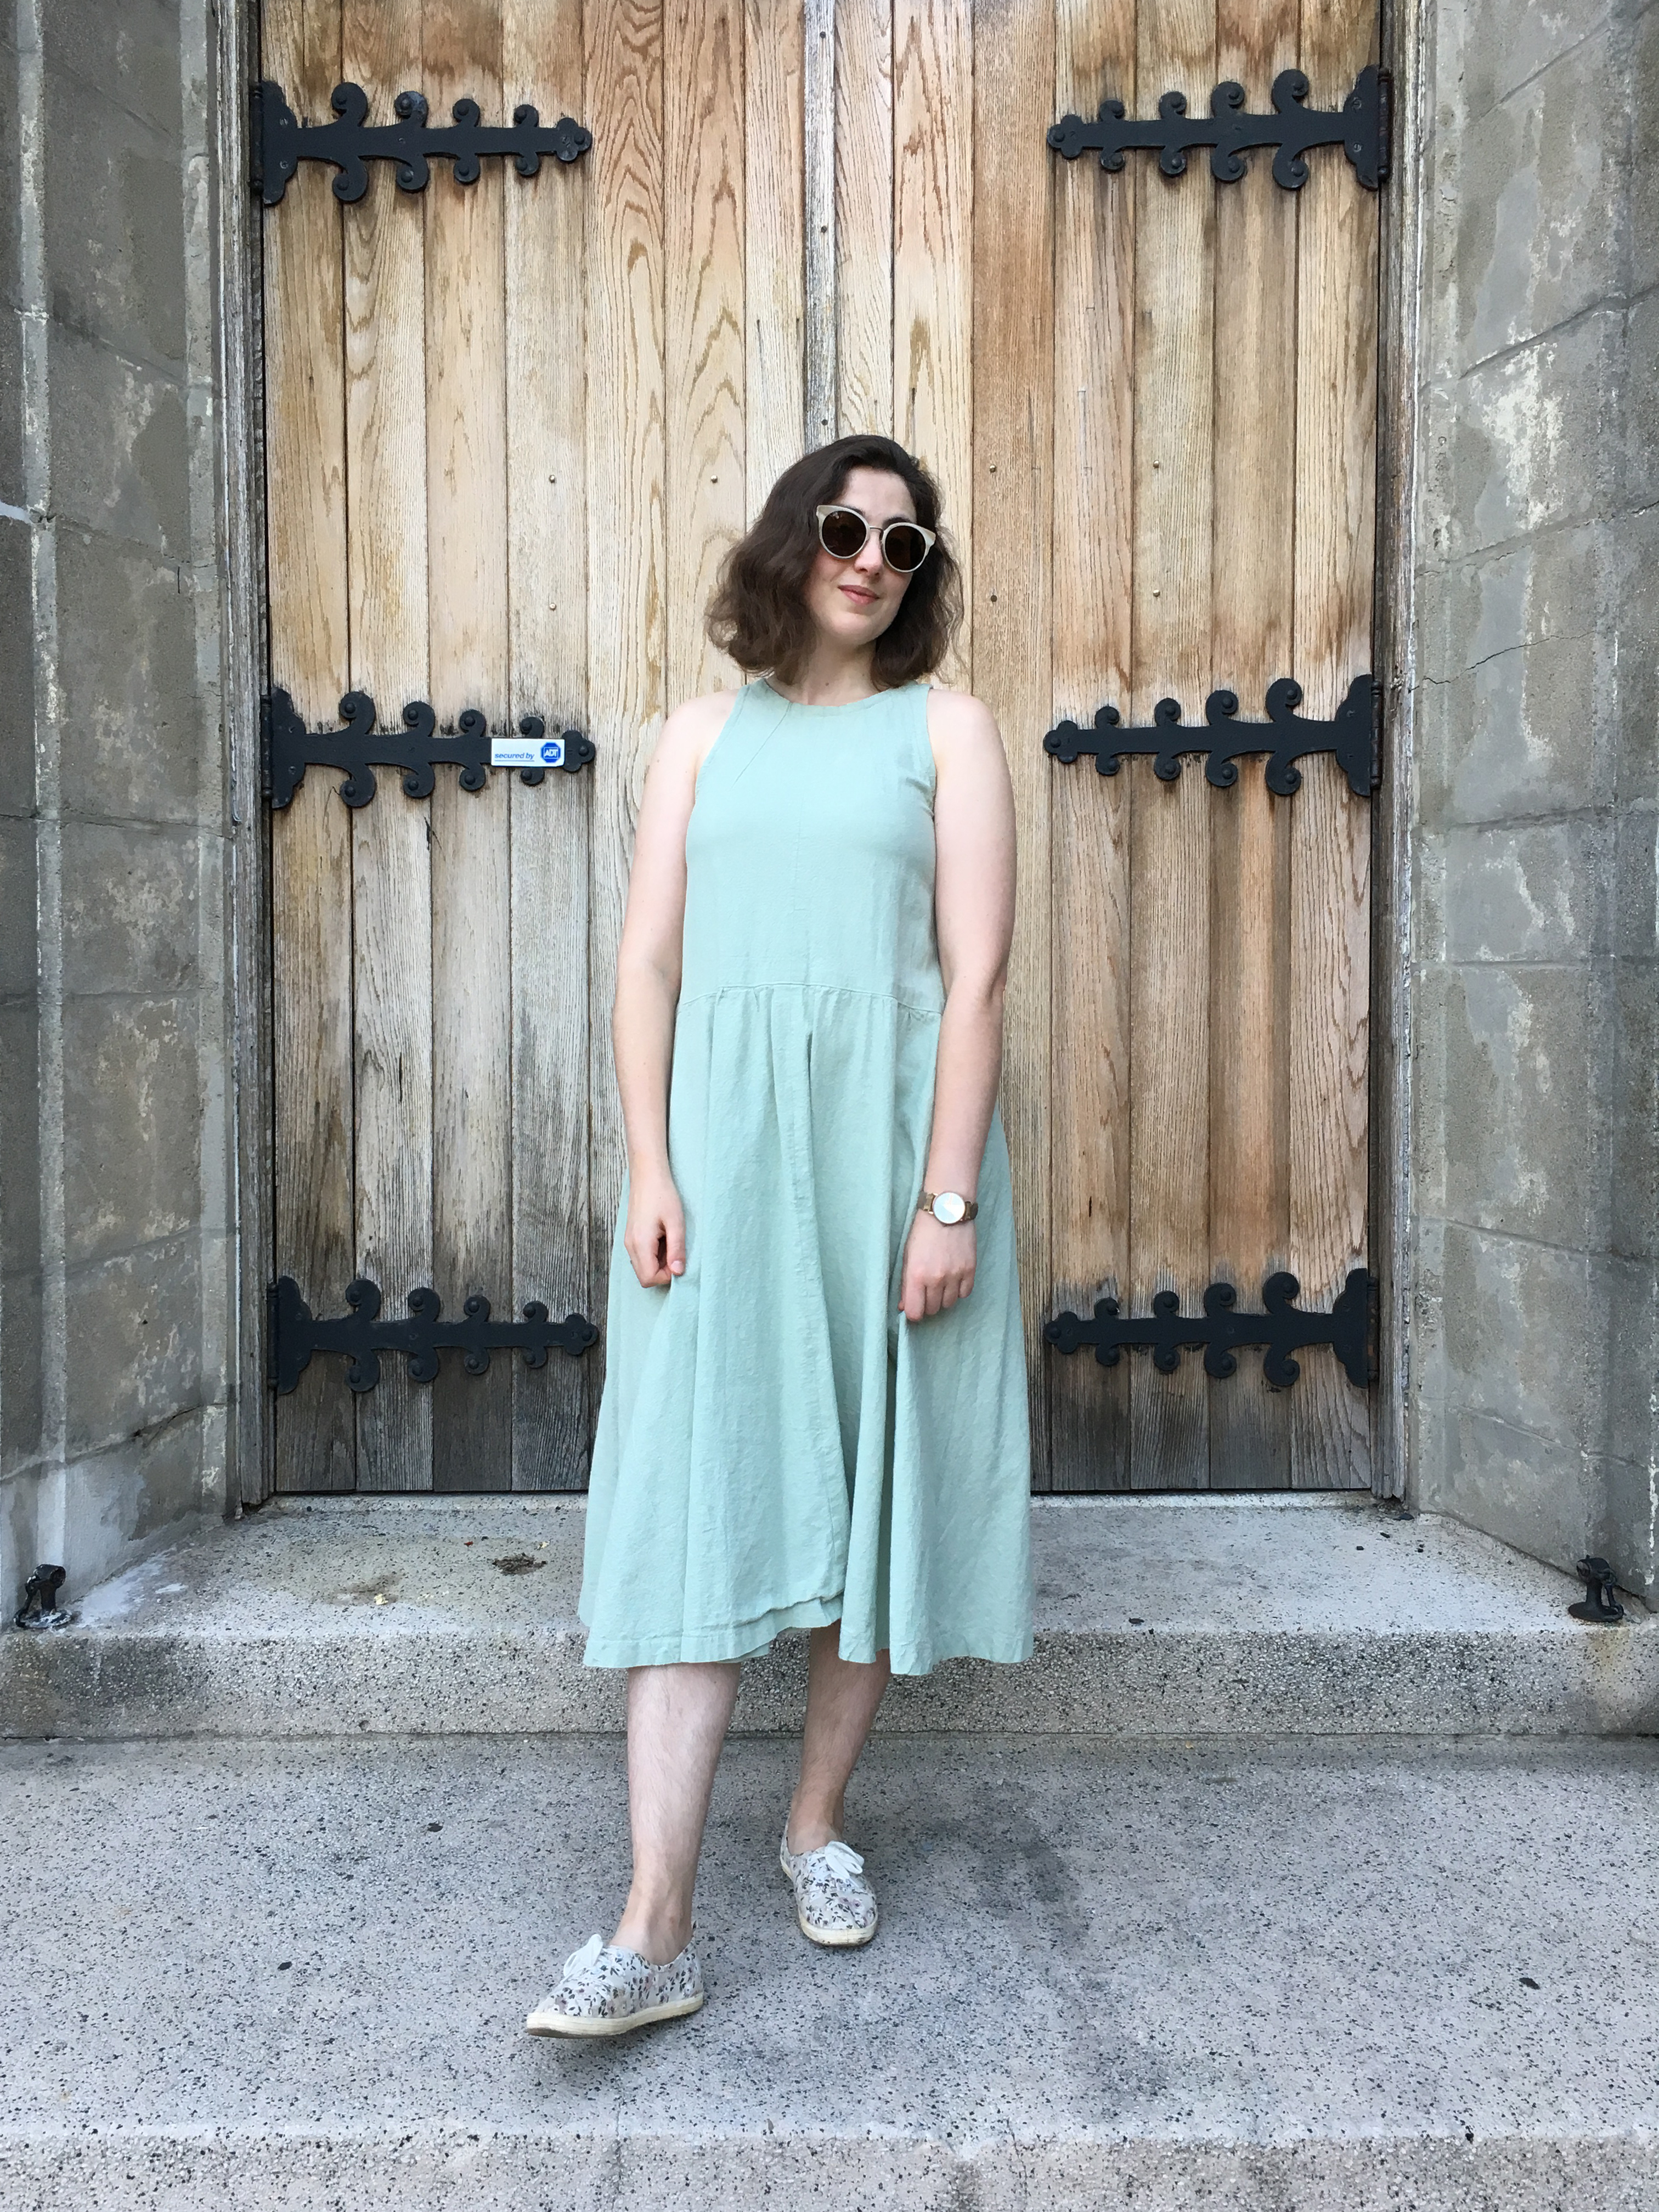
I recently read an old detective novel where a dame is described as cool and sweet and remote. That may be my color palette here, but I am actively sweating in all of these pictures, more than a little. The Roscoe is a great summer blouse because a) it doesn’t cling to my human Gatorade and b) it reduces my need for sunscreen, especially on hard-to-reach wing meat.

I’m so glad I was able to reuse this fabric! It’s cooperative, opaque, drapey, and soft as buttah. And I love moving fabric from my scrap pile to the closet. I *am*, however, running out of scraps to shop. I’m going to need an infusion of fresh fabric soon…

And some nice juicy planning. Although hopefully, I will be less juicy at the time.

Pattern: True Bias Roscoe blouse

Pattern cost: NA

Size: -1?

Supplies: Scraps of hemp/tencel shirting, thread from stash

Total time: 4.75

Total cost: $0.00

Witchy Weekend

Never before seen on this blog: A HAT! Oh! I didn’t make it though!

IMG_2907.JPG

And it’s not the point of this post! Today is pants. But I’ve owned the hat for a couple years and only in the last few weeks have figured out how to wear it (hats are hard, aren’t they?) so excuse my pride. Hat people, I am one of you now! For brief bursts, before losing my nerve!

Anyway, the pants. They’re a combination of two Megan Nielsen patterns – the Tanias and the Flints. The fabric is repurposed from what was briefly the skirt portion of a failed dress which was itself part of a failed Halloween costume (this costume was the ultimate ‘fail better’ for me – I also got two Hemlock tees out of it!). The skirt was based on the Tania culottes pattern pieces with the crotch extension whacked off. That’s step one of my probably ill-advised but ultimately successful pattern mash-up, as seen below.  

Okay, picture a giant flashing red light: THIS IS NOT BEST PRACTICES. THIS IS NOT EVEN RECOMMENDED PRACTICES. But it IS what I did…

Diagram.jpg

 After that, I just sewed these exactly like the Flint culottes. I got lucky that they came together without drama; it also helped that these were both MN patterns. Little things like the consistent pocket extension made merging these patterns a lot easier. I’ve absolutely gotten my money’s worth from the Flint pattern, even before taking into account the cash I’ve saved on zippers!

IMG_2952.JPG

And the time spent buying them, too! It’s nice to be able to dive into a sewing experiment without taking a bus to a shop first.

IMG_2900.JPG
IMG_2921.JPG

The finished garment is shorter and wider than the Flints, but narrower and more pants-like than the Tanias. The resurrected fabric is a cheapy linen/rayon blend. I have mixed feelings about it; I certainly would have been less cavalier about cutting and experimenting with a more expensive fabric. But, since I like the pants, I now wish they were made from something sturdier!

We’ve had a lovely long warm fall, but the mornings and evenings are chilly, so I’ve been tossing this shawl over a lot of outfits –

IMG_2988.JPG

Not me-made, sadly, but it’s just a rectangle with a slit down the front. It’s essentially one of these or these without the belt openings. I’d like to try actually following one of those tutorials at some point.

I get a ton of use out of these pants. They’re pretty much a three-season garment – swishy in summer, spooky in fall, cozy in winter with thick tights. Dress ‘em up, dress ‘em down, but their ultimate purpose is startling people who say something nice about your skirt.

IMG_2970.JPG

“THANKS! THEY’RE PANTS!!”

I feel witchy and practical in these. I’m not Gothic or Victorian (no ruffles, lacing, or intricate details) but maybe I can cultivate a semi-minimalist witchsona (witchsewna?!). For clothing goals – not to mention lifestyle goals – clean house, homemade cider!! – I’m thinking Morwen from the Enchanted Forest Chronicles by Patricia C. Wrede. Except she has magic sleeves that can store supplies for days. I’ll get to work on that…  

IMG_3014b.jpg

And in the meantime, I’ll just be here concocting spells sewing plans in my poison garden the local native pollinator garden, listening to my Halloween mix…see you next time!

Pattern: MN Tanias and MN Flints

Pattern cost: NA (already used)

Size: Tanias: L, Flints: 14

Supplies: remade Halloween costume; thread from stash

 Total time: 4 hours

Total cost: $0.00

Summer of Love, Part Three

This dress was pants! Briefly! Well, culottes. This is the tale of its transformation. Welcome to episode 3 of the Summer of Love!

This was very, very temporarily a pair of midi-length Tania culottes, size L in old money. I’d been wild to make them for a while, but I rarely buy 3+ yards of fabric at a go. Happily Gather Here had a summer sale at the beginning of wedding season, and the Tanias seemed just right for an upcoming casual-nice engagement party!

I finished the culottes with about 18 hours to spare (maybe you’ve sung this song yourself) and popped them on for a triumphant fashion show. Twist!! I must have fudged the grainlines because instead of falling from the widest part of my hip, they hugged my leg to about mid-thigh and then abruptly belled out. NOT triumphant. Not even close. Triumph sent its sincerest regrets but would not be attending my legs.

Without a back-up plan, I unpicked the ol’ leg-bags and freestyled a dress. The culottes became its skirt. This was simple to engineer – I cut off the crotch extension of each piece and smoothed the waist, like so.

Then I pieced the skirt front and skirt back at the center seams. Since the Tanias are so full, that left a respectable amount of swing and flare, even sans crotch.

Unfortunately, I ended up with four little holes, from what used to be the ends of the big box pleats (the red dot on my diagram above).

Using about a square centimeter of scrap fabric and fusible hem tape, I ironed a jiffy patch to the wrong side of each hole. So far they’re holding!

For the bodice, I used the Workroom Social Tate Top (free to newsletter subscribers) in the cropped length. I had previously made this pattern as a scrap-buster. As a crop top, you can really squeeze it onto random odds and ends, especially if you add seaming. I got this from the culottes off-cuts with nothing to spare!

Rather than using a zip, as the pattern recommends, I divided the back bodice horizontally about 5” down. Then I cut the two upper pieces and hemmed the vertical edges separately for a simple opening. It closes with a thread chain and mother-of-pearl button, but I can get in and out without unbuttoning. I’ve definitely made versions of this with no opening at all, but you know your own coconut best!

Then I just gathered the skirt top to fit (it didn’t take much gathering), stitched them together, pressed that seam up, and topstitched. Crossed my fingers for another first try-on and hey presto! A dress!

With a handy belt leftover from a Halloween costume (I was an Egyptologist, Professor BF was a curséd mummy, it was adorable, we’re very proud), I was party-ready.

Oddly I find the Tate cropped length borderline too short for a shirt but definitely too long for a dress bodice! But by then I was sleepy. So I wore the finished dress to the engagement do, and then forgot to adjust it, and then wore it to other Summer of Love events – a bridal shower, another engagement party. It’s not quite fancy enough for a fancy wedding, but it worked great for these Bacchanals/Burning Mans/just kidding we ate finger food in a backyard.   

I wore my Halloween belt with this each time, but I might prefer it casually unbelted!

You know what – seeing this steadily and seeing it whole, I’m gonna tweak it again. I love the color and the weight of this fabric, but the bodice never sat quite right, especially in the back, and it’s a smidge tight at the underarms.

Once more for the chop, dear dress!  

Previous Summer of Love found here (part one) and here (part two).

Pattern: MN Tania culottes

Pattern cost: $9.50

Size: L, in the old MN system

Supplies: 3 1/4 yards Kaufman Essex linen/cotton in Seafoam, Gather Here, $28.60; zipper and thread, $4.60, Gather Here; button from stash

Total time: 5.25 hours

Total cost: $42.70

Pattern: Workroom Social Tate Top, as dress

Pattern cost: $0.00

Size: 8

Supplies: disassembled Tania culottes + leftover fabric

Total time: 5 hours

Total cost: $0.00