
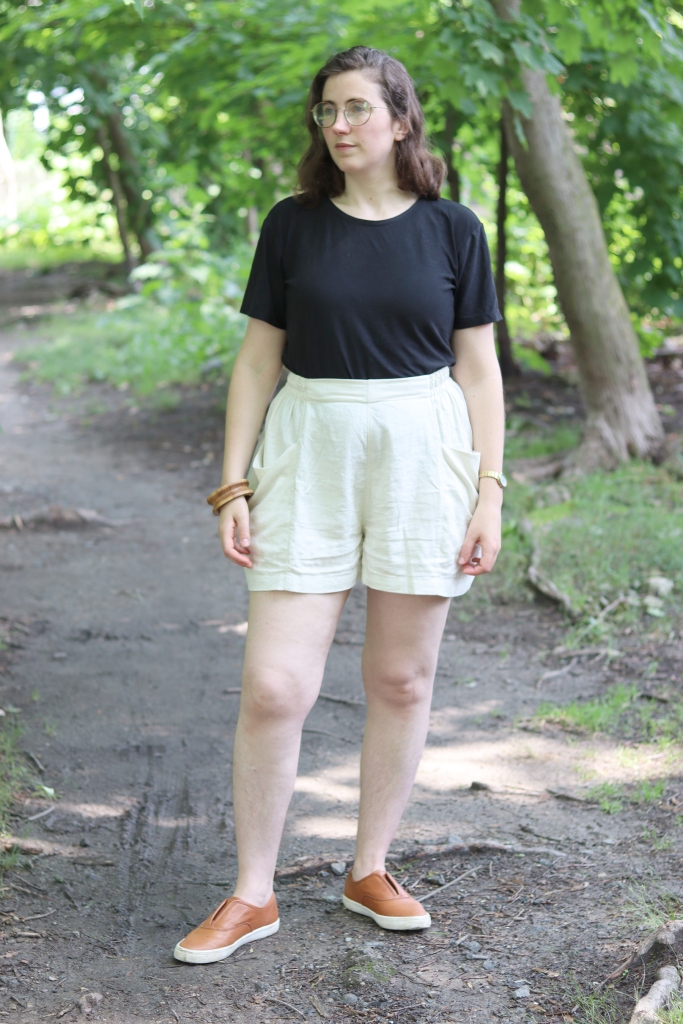
Light-colored shorts! Why?! Any number of colorful disasters could occur! Mini-Muffin has started putting things into my pockets (mostly found objects, and she’s been known to find half a freeze-dried raspberry…in her mouth), so that’s a particularly vulnerable flank. But I wanted light shorts for my flanks.


I’ve attempted here to repeat and improve upon an earlier pair of improvised shorts, these, based on the Peppermint pocket skirt. My old post was very helpful, because I’d done just so many things wrong already. But there was an element of “greatest hits” to this pair. I.e., after retracing and adjusting all the skirt pieces I realized I’d accounted for how the folded-over waistband lowers the rise, but had forgotten AGAIN that my crotch curve still assumes an added waistband for additional height. I blithely cut and sewed these shorts anyway…and then, on the day, less-blithely lowered the crotch depth by 1.5”. Otherwise known as (you guessed it!) the height of one waistband.
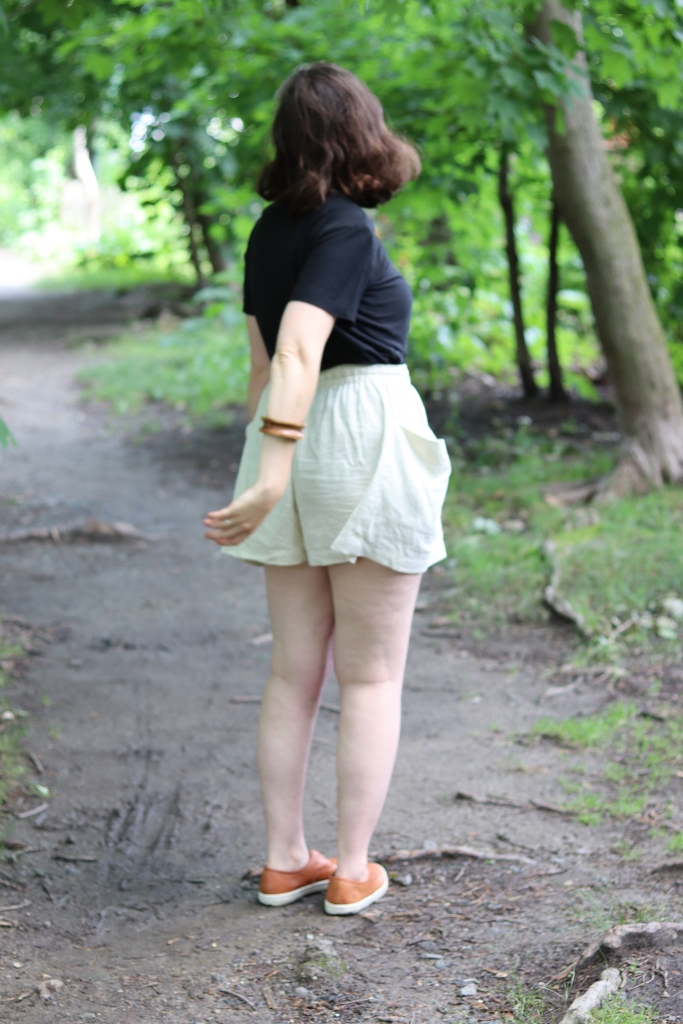
But I’d furnished myself with a 6” inseam this time around, which I’m pleased to report was plenty for my goof and my hems.
And my other mod, the flat front, seems to be working okay! I based that style change on ~street fashion~. Basically a woman walked by me wearing breezy gathered sand-colored elastic-waist flat-front shorts and I thought “I’ll ’ave them”. It was a pretty simple change – I laid a cloth measuring tape across my belly to figure out where I wanted to vertical seams to hit, and decided to center them on my thighs. My desired finished shorts front width totaled 9”. The original draft resulted in an 11” wide finished front, so I subtracted a 1” vertical stripe from the front piece, parallel to the grainline. The hem is straight in the base pattern, so the only line I had to true was the slightly curved front waist.
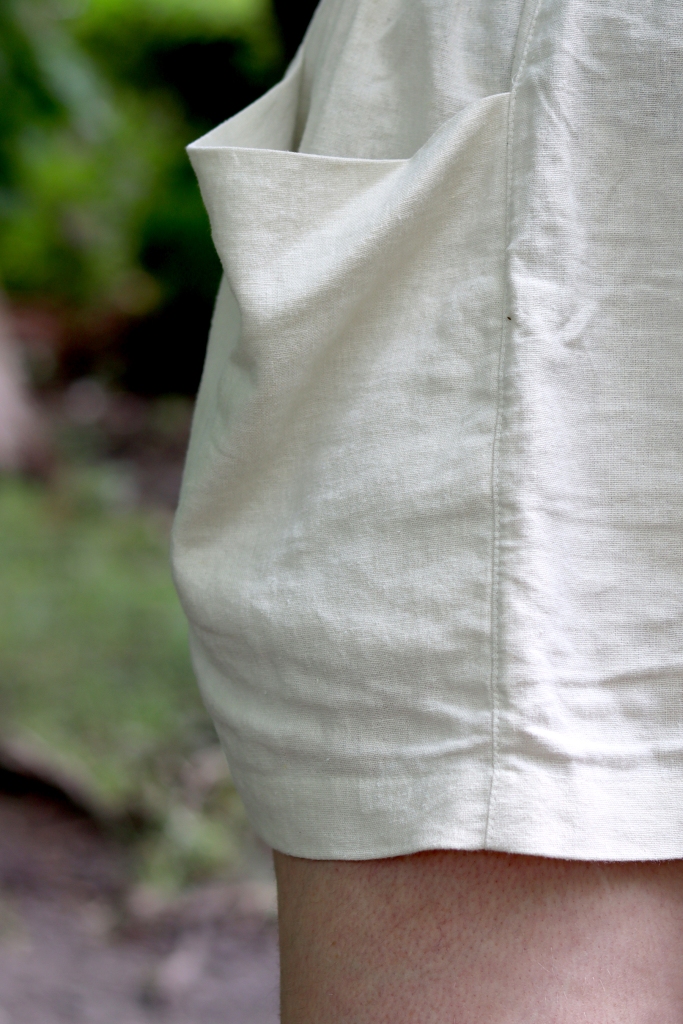
I moved that width into the pocket panels. They have straight waistlines and hems, so it was as simple as adding 1” in width to the pocket back piece + pocking front & facing piece. Once again I took a stab at how far below the waist to place the pocket opening, and this time I went maybe a little too low, but it’s a pretty flexible decision, so no truly wrong answer. My only interfacing in this project was a line of 1” tricot on the inside back layer of each folded pocket edge.
Instead of interfacing-interfacing, I cut self-fabric “interfacing” the width of the waistband, in duplicate. So each center front piece is three layers of fabric for the topmost 1.5”. I basted the layers together within the seam allowance (leaving the lower edge of my self-fabric “interfacing” free), graded the vertical seams of the interfacing (I’m over the scare quotes), and trimmed the doubled interfacing to the stitching line at the waist. Then, as usual, folded over and stitched in place.

There’s 6 layers of fabric in the center construction seam, which contributed to my decision to serge the seam allowances.
I wouldn’t say this fabric (Brussels Washer in Ivory) is sheer, but you can see the ghost of the seam allowances through the main fabric, so white serger thread + a narrow sa (plus edgestitching, my off-again-on-again favorite!) made for a good combo.
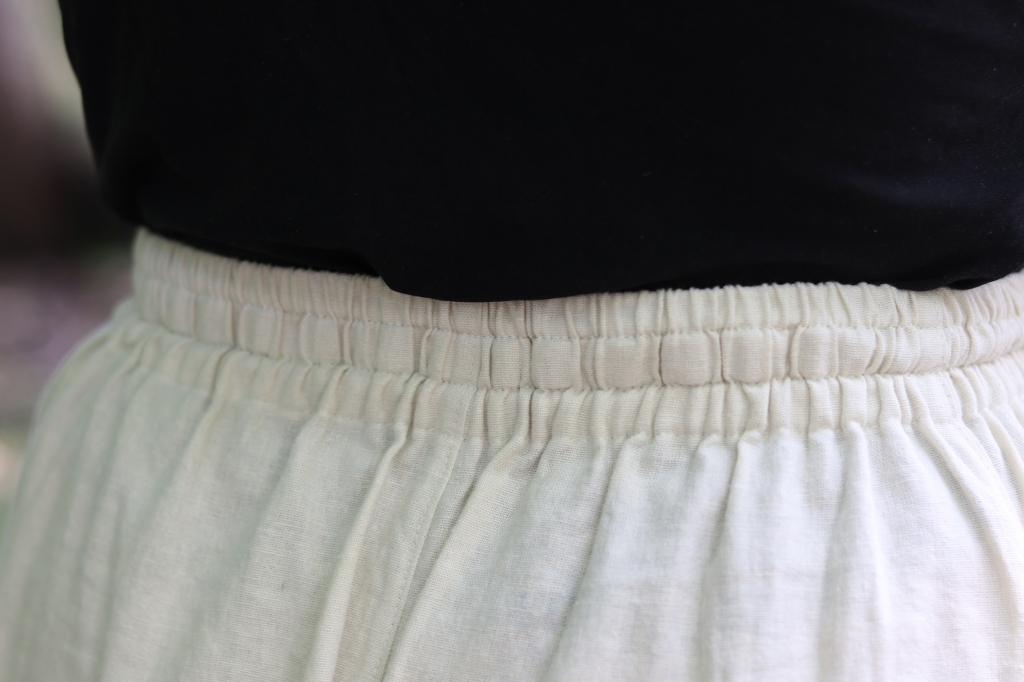
Less good: my elastic. The fabric store only had 1.5” in black, which I knew would show through, so I bought a couple yards of white 1”. This baffles me. How did I think that math would work? Much more reasonably, I found white ½” elastic kicking around my sewing kit, and sewed 3 channels for that. I had originally planned on topstitching the wide elastic so this was an acceptable substitute.
While sewing the channels, they looked even enough, but take a step back and suddenly every human eyeball is a theodolite. Still, I decided I could live with that. I left an opening in the bottom of the flat front, which I used to thread each length of elastic through each channel with that classic team, a safety pin and its good friend a-piece-of-tape. I tried my best to pull all three to the same tautness before stitching the ends in place at the front facing edges. I think the center piece is less stretched than the others (I should have marked a consistent point somewhere so I could even them before snugging them up), but I decided I could live with that, too.

And then, even though it was flat when I fed it through, and flat when I stitched it in place, the middle elastic somehow twisted. I HATE TWISTED ELASTIC. TWISTED ELASTIC IS MY ENEMY. MY ENEMY IS HIDING IN MY SHORTS.
Options include: find white 1.5” elastic somewhere, unpick everything, replace, topstitch. Or: unpick just that piece, attempt to flatten it again, restitch. Or: cast my shorts into the fi-yuh.
But I like these shorts. I don’t want to burn them in a fi-yuh! I just want my elastic to stay flat! As far as I can tell, non-roll elastic is a lie, so what would you do?
Twisting aside, this is a pretty successful and functional mod on a free pattern. By the way, I’m saying mod instead of hack because while “hacking” is the norm, I like “modding” better – more accurate, more productive. I think it’s especially silly when a designer publishes an own-pattern hack (you changed pleats to gathers on your own design, you didn’t infiltrate the Federal Reserve). Anyway, all that to say, I’m pretty happy with my shorts mod.


And maybe next time I’ll sew them right the first time!
–
Pattern: Peppermint pocket skirt, ~*modded*~
Pattern cost: NA
Size: 16; narrowed front panel 1″, widened side panels 1″; 6″ unfinished inseam before lowering crotch (NB, not yet changed pattern pieces to reflect: lowered crotch 1.5″)
Supplies: 1.5 yards of Brussels Washer in Ivory, 2 yards of 1″ elastic, Gather Here, $25.00; thread from stash
Total time: 4.75 hours
Total cost: $25.00

That looks like exactly what we should all be wearing right now. (Hot+humid is finally breaking on Friday, I am led to believe…) What you did is basically using a pattern as a block and modeling your own garment from it, so I’m definitely going with “mod”. Never got behind “hack”. Hack is what cats do to hairballs, or at least that’s what the word makes me think of. On elastic, I recently found this, which was very informative and I think explained why some elastics roll more than others. I think if it gets narrower when stretched, it will be more likely to roll. The only solutions I know of are to stitch through the thing after you’ve sewn it in (which some of them don’t tolerate, apparently) or to sew one end along the edge to the garment, as they do in swimsuit/boxer short/underpants construction.
LikeLike
I actually replaced the elastic with a wider piece and topstitched last night because after uploading these photos yesterday I thought “NO FURTHER”. Thanks for the link, I’m excited to actually know what I’m doing a bit!
Also THANK GOD, it can’t get cold enough soon enough for me. I kind of understand hot during the day, I get it, that’s the cost of doing business, but these hot nights stink. I feel like I’m just surviving from thunderstorm to thunderstorm.
LikeLiked by 1 person
Great mods… and I’m behind “modifications” vs “hacks” (which are too much like slams…)
Gotta love those pockets!
LikeLike
We just got a clothesline and they’re ideal for putting washing out/taking it in – I can drop a clothespin in my pocket without looking! 😀
LikeLike
Great shorts. Particularly envious because we are in the depths of winter here (depths being a relative term – it doesn’t go below freezing at any point where I live). Love the pockets
LikeLike
Take 15 degrees. Take 20. Please. Have them, they’re yours!!
LikeLiked by 1 person
So cool! I’m reading this while wearing MY Peppermint gathered skirt and now I think I need to try your hack for some much-needed shorts. Thanks for the inspiration!
LikeLike
Thanks! I like the skirt but I really like it as a base for other stuff! I’m trying to figure out now if there’s a way to do a layered leg (like that tulip-petal thing I often seen on running shorts) or if that would make the facing too bulky…
LikeLike