
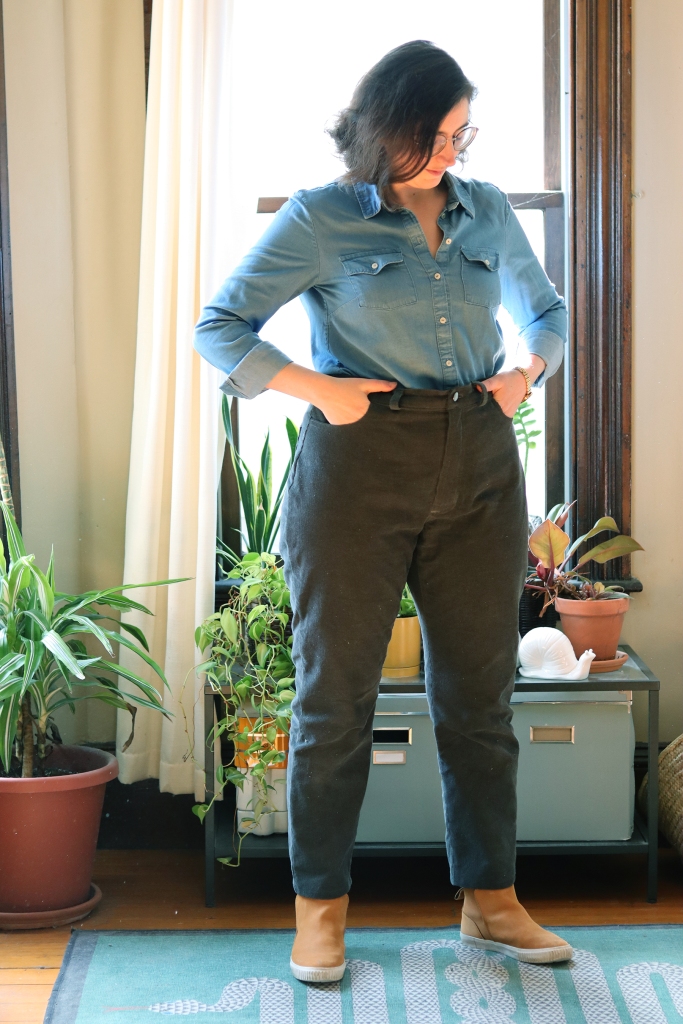
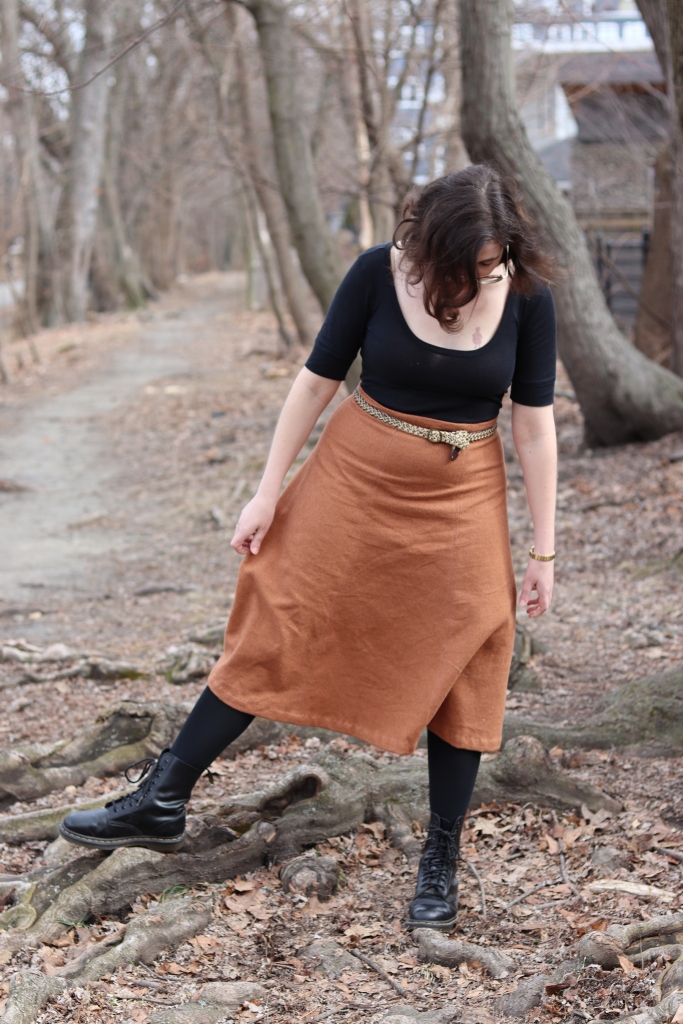
My coat! It is done*!


Wait, what’s that?…
done*
*
*
OH NO, WHERE’S THE HOOD?!
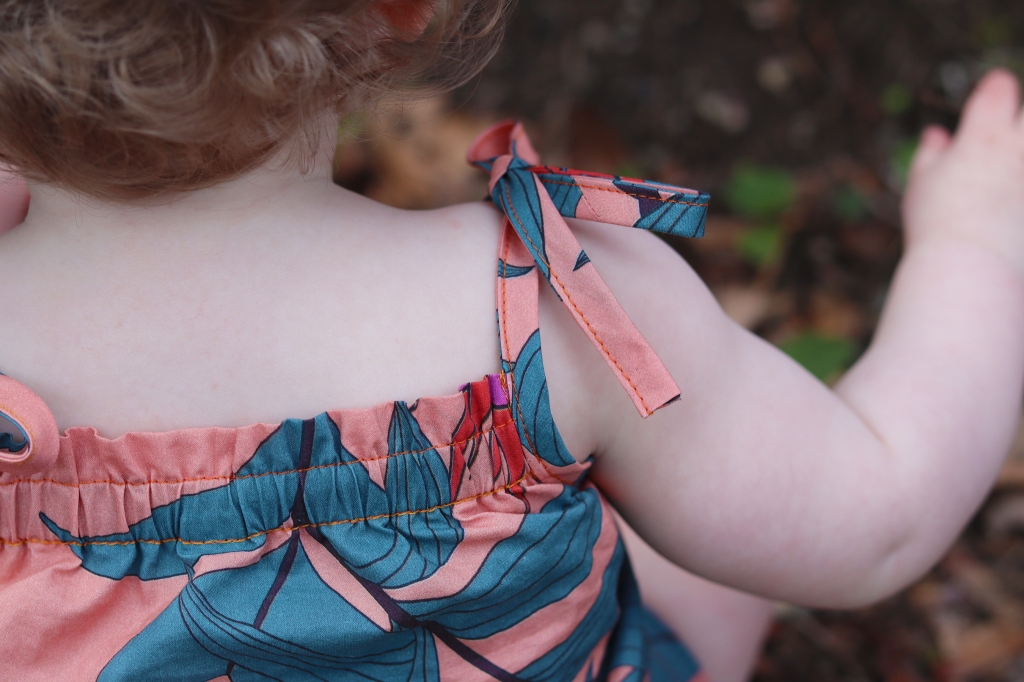
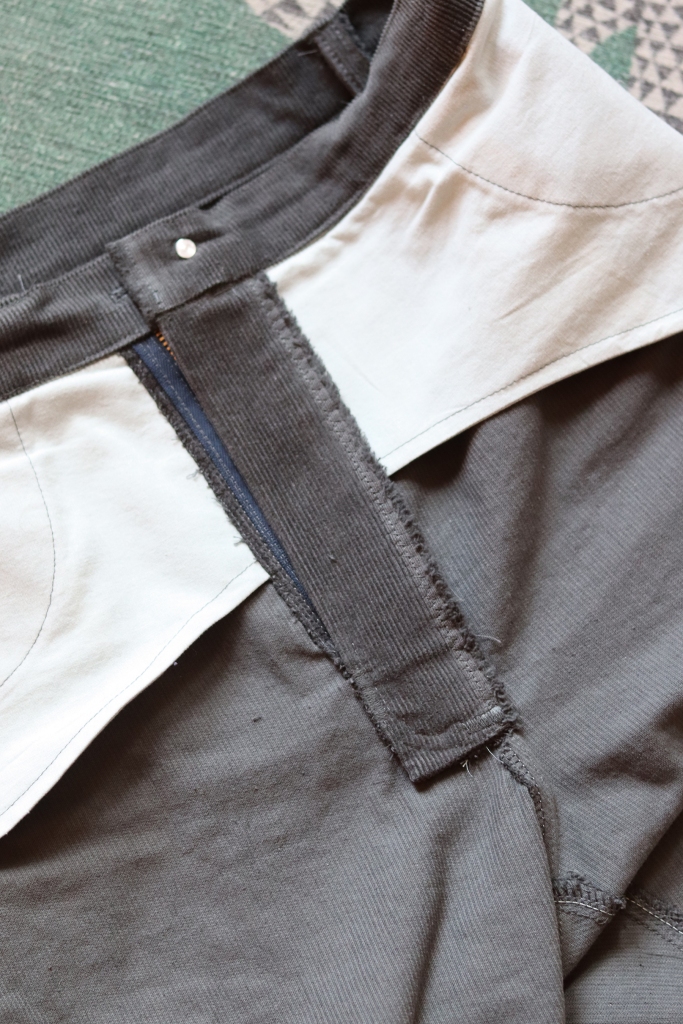
Not here yet, I’m afraid. Lots of good conversation around hoods when we last talked rain jackets! There seems to be a general agreement even among people who don’t like them that a crummy ol’ hood you don’t want is better than the alternative, which is no crummy ol’ hood when you really want one after all. I think Esoterica was the first to suggest a detachable hood, which I embraced. I don’t know how I’m doing that yet, but behold my planning against the future: some snaps???

Yep, there’s a row of snaps (half-of-snaps, really) inside my collar, and that’s it for now, hood-wise. More on the collar specifics later, but without planning the entire hood & hood process ahead of time, I hoped this would give me flexibility. Another option would have been buttons – lower-profile, easy to move or remove if I changed my mind down the line – but I knew I would rather road trip with a bonobo than sew buttonholes in this fabric!!
Um, shall we talk sewing?
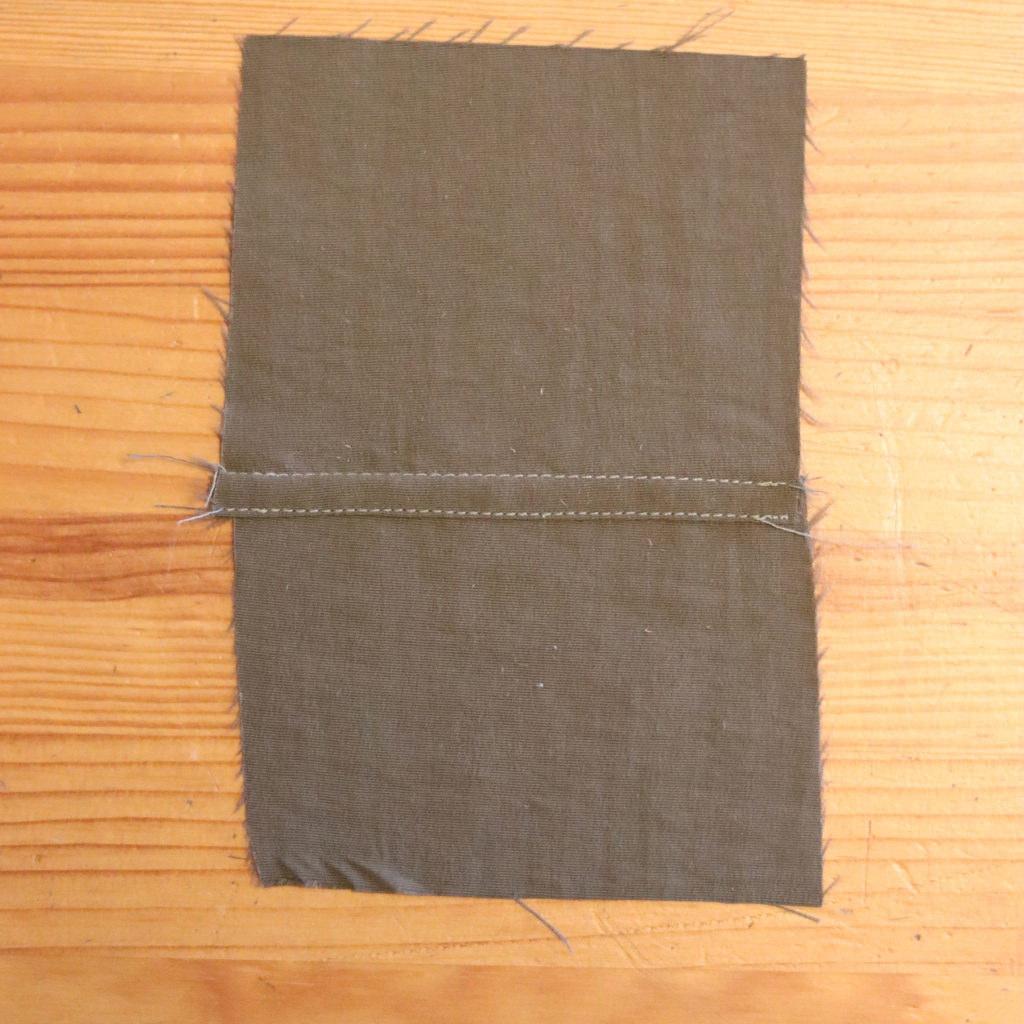
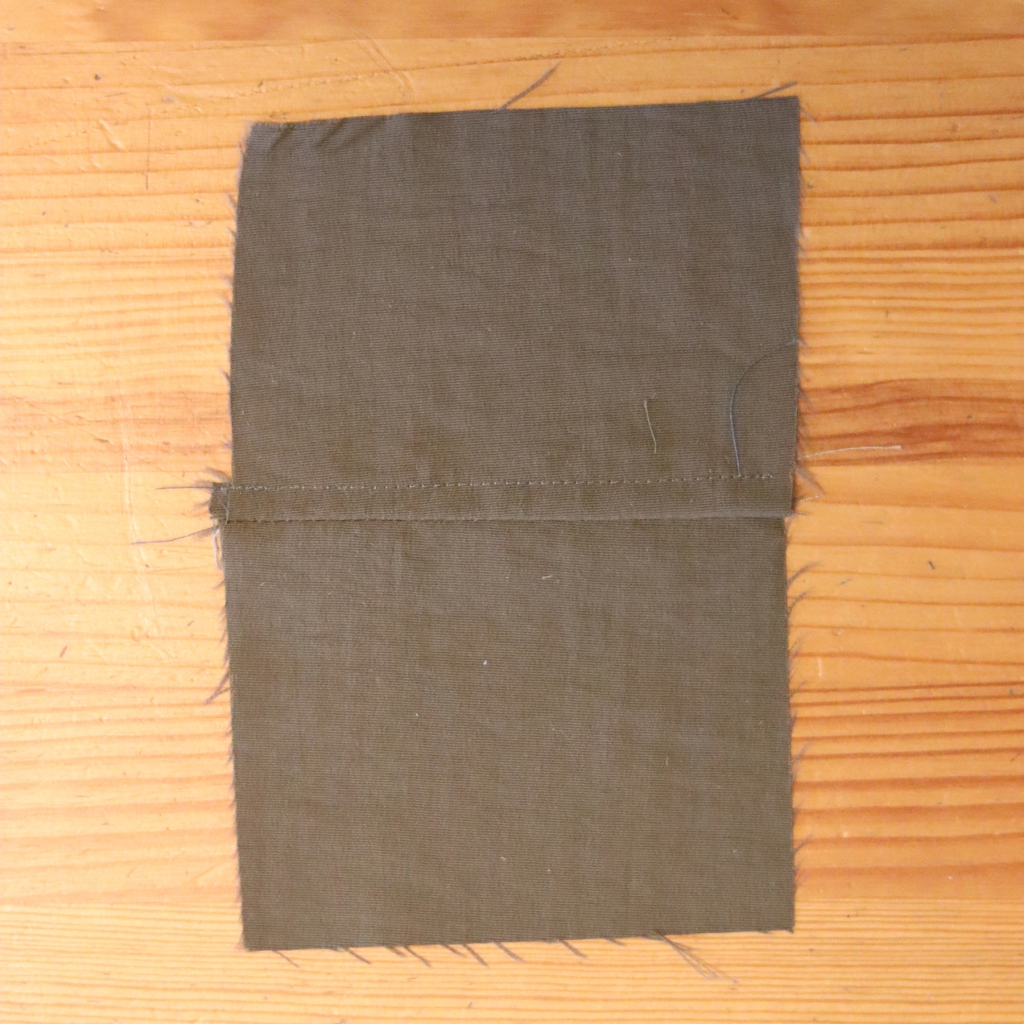
I didn’t enjoy it. I love pressing with giant gusts of steam. I love topstitching. Taslan doesn’t. I’ll say this for it: it was very, very easy to unpick stitches. Once I undid the backstitching on either end of a seam, I could pull the whole bobbin thread out with one strong yank. This saved me untold time, since the theme of this coat was sewing things over and over until my performance and my standards met in the middle!
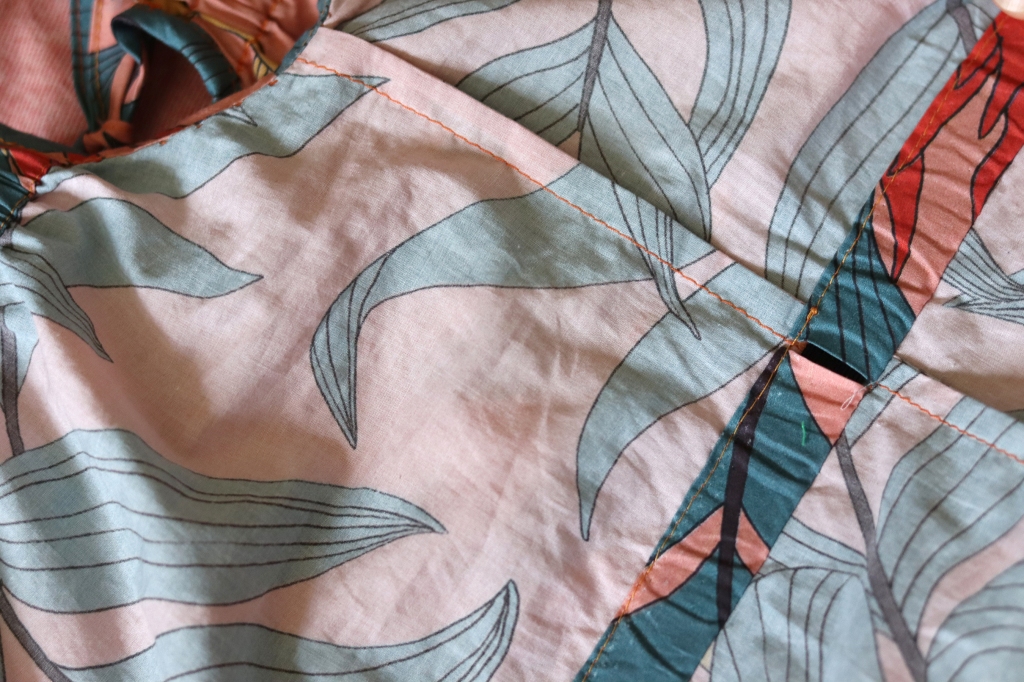
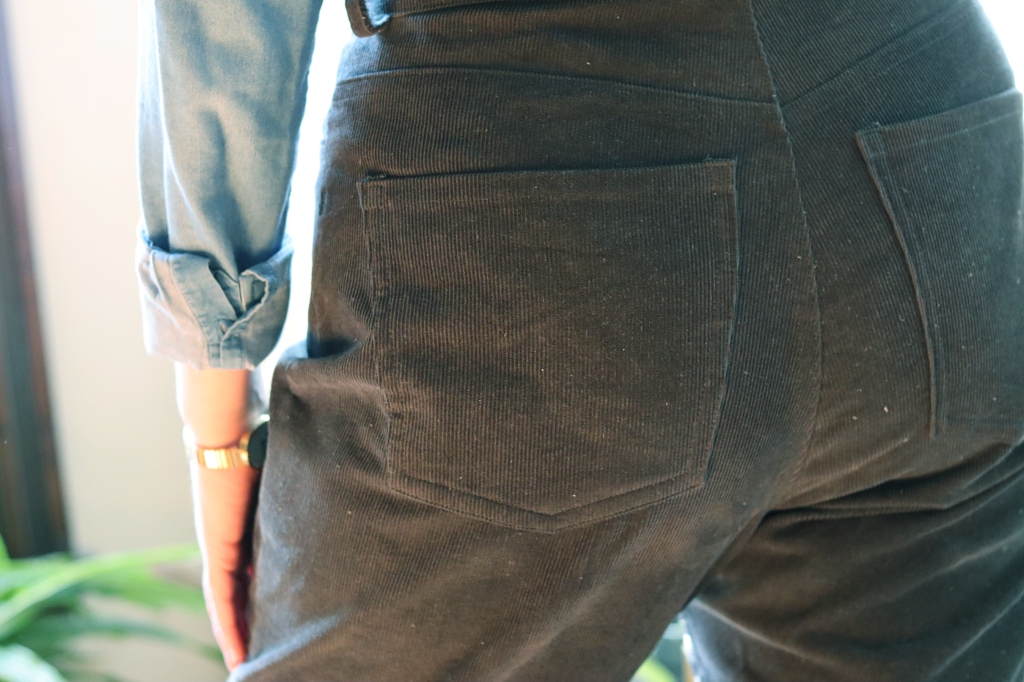
I changed thread colors since sewing my little seam samples, by the way. I had used a bobbin from another project but I actually preferred the darker thread leftover from that one. Anyway! There were a few places where topstitching was unavoidable. Earliest and most obvious, the pockets! These weren’t so bad, since the fabric is so thin, but the wrong side of my stitching (which is visible inside the unlined coat) is pretty wobbly-looking. I had reconciled myself to this until I added the casing.
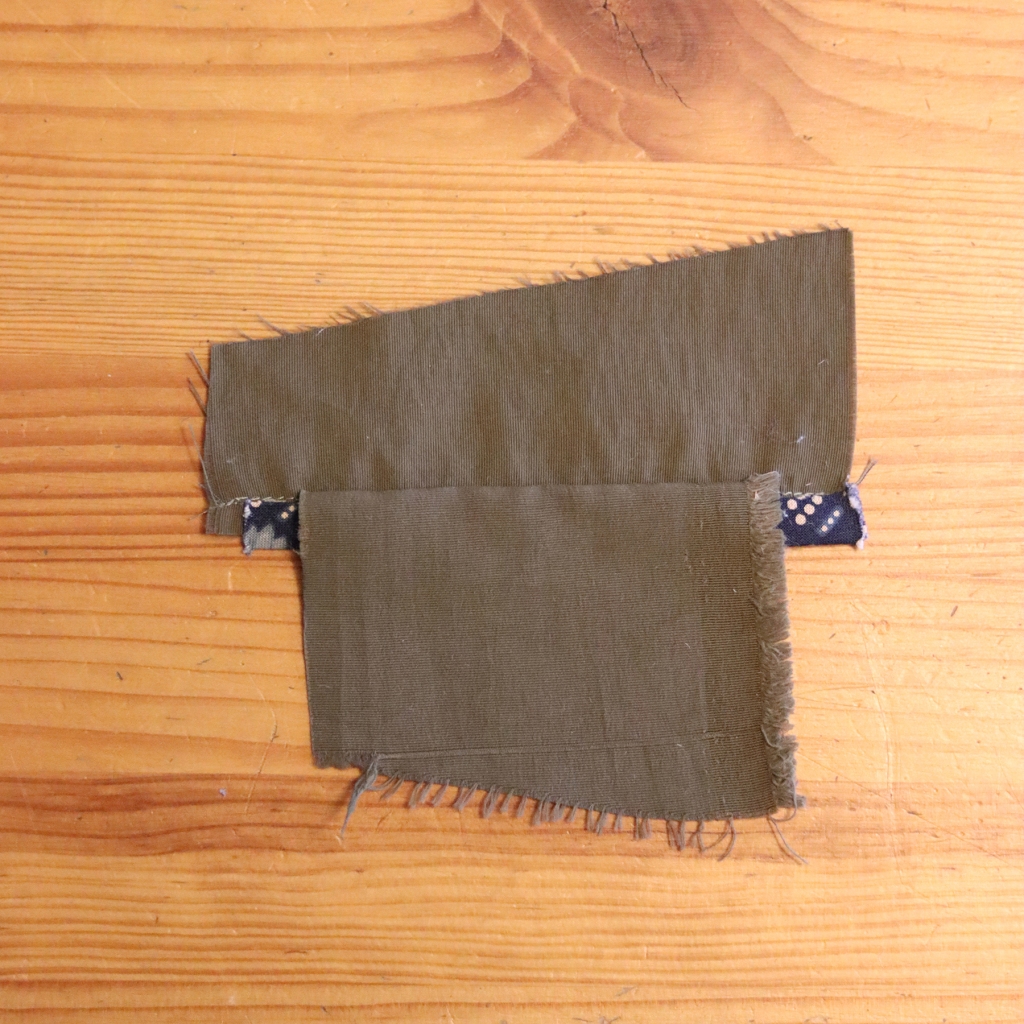
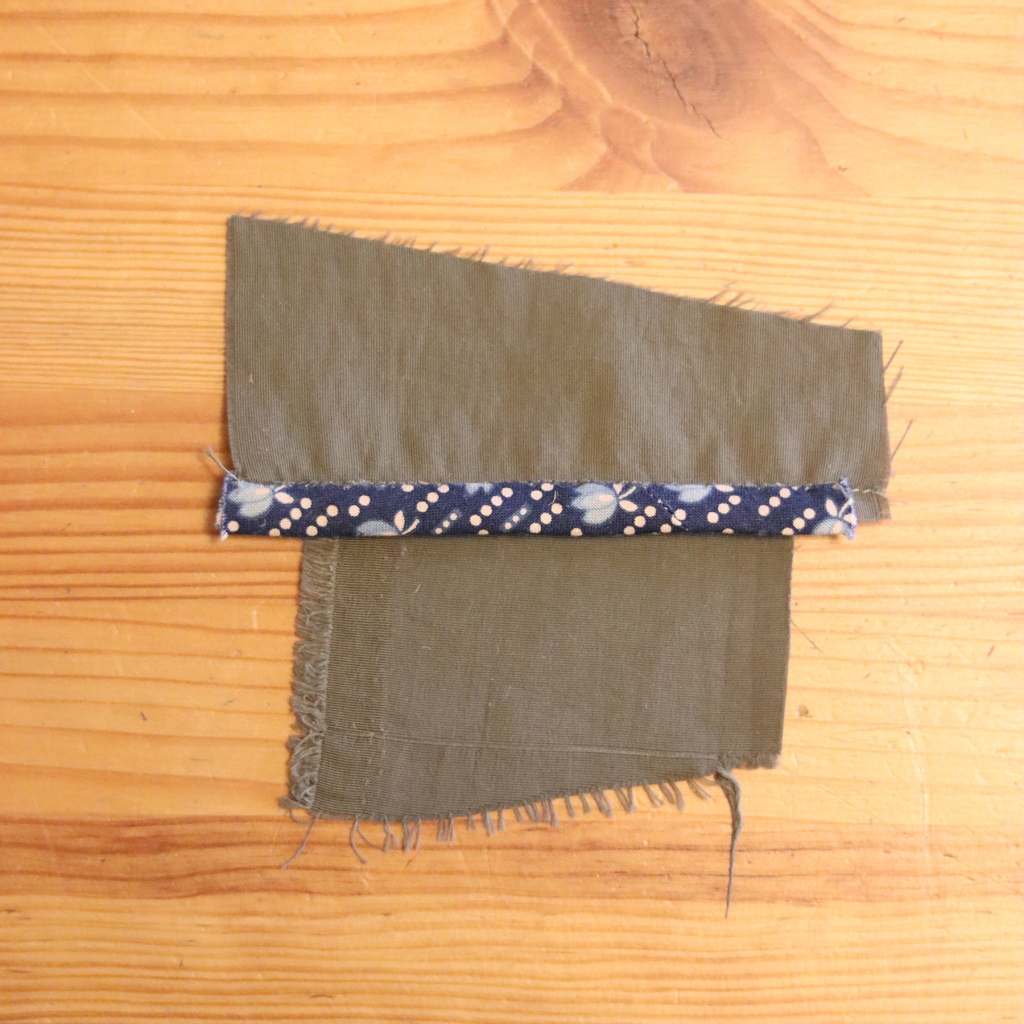
The casing doesn’t actually have a relationship to the pockets, but it did come out twisted and awful in self-fabric, so I bought a coordinating cotton to replace it. And now I had leftover cotton…so I added these silly interior pockets for camouflage!

They’re sort of mimicking functionality. I could have added panels instead, but these are technically useable if not actually practical, and now you can’t see the wrong side of the patch pocket stitching.
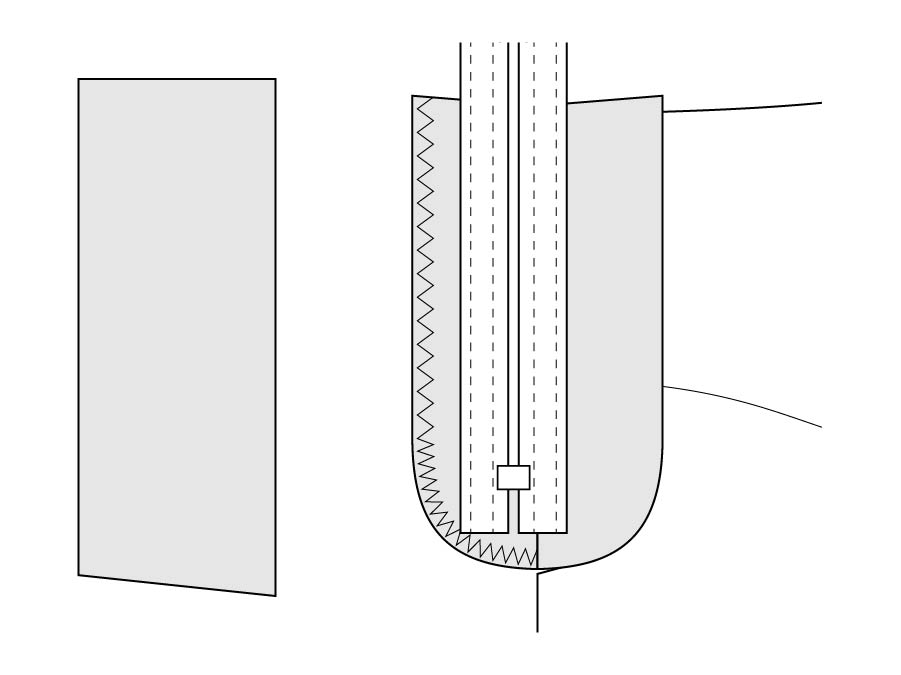
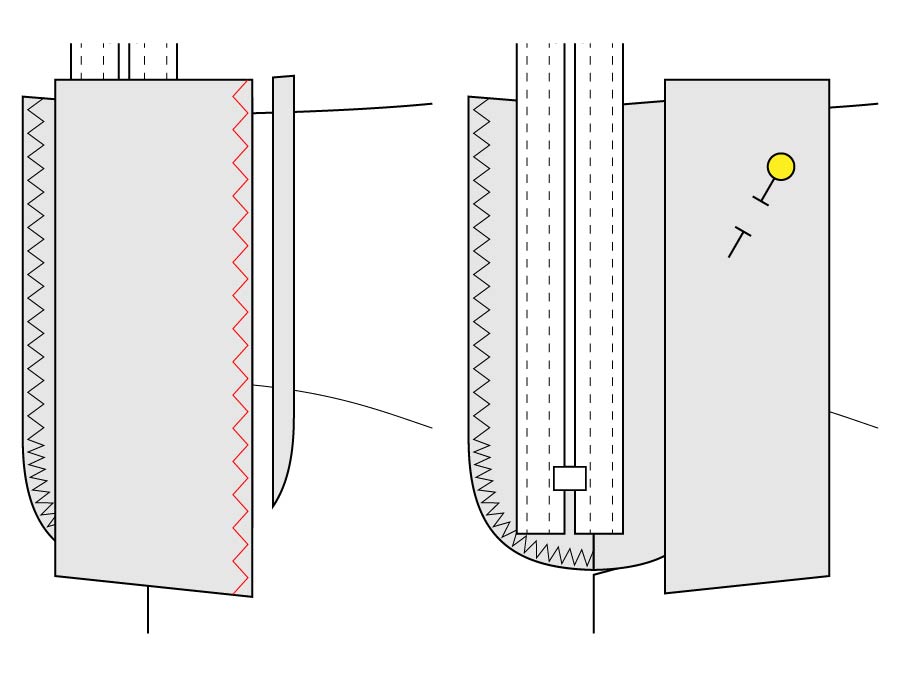
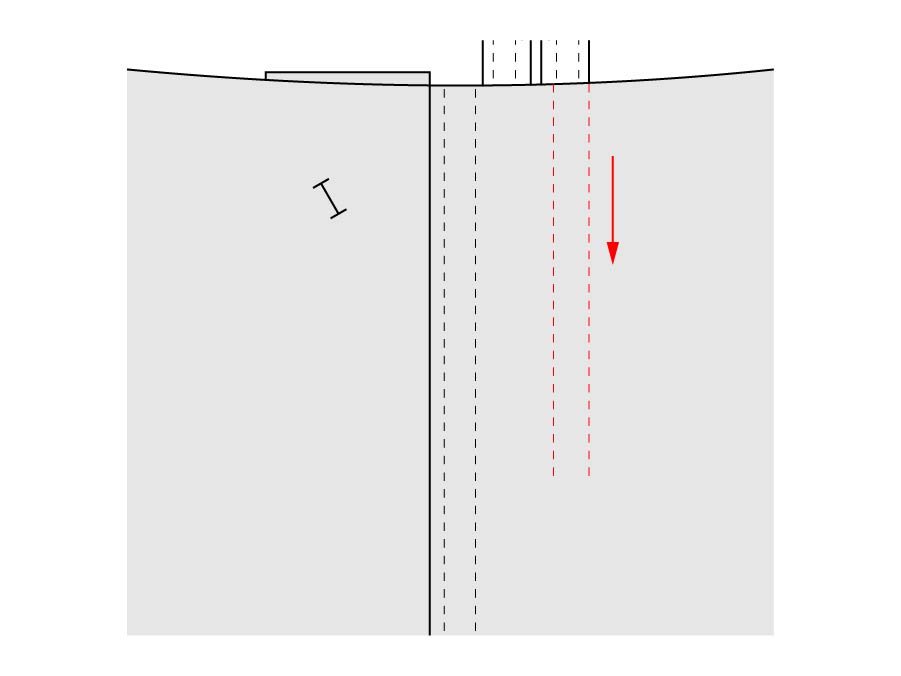
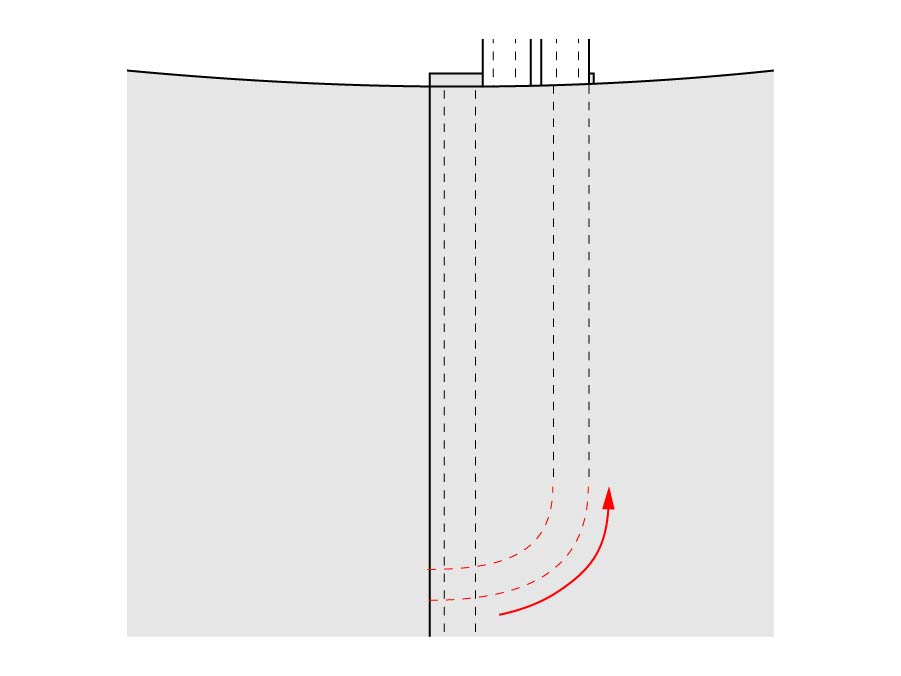
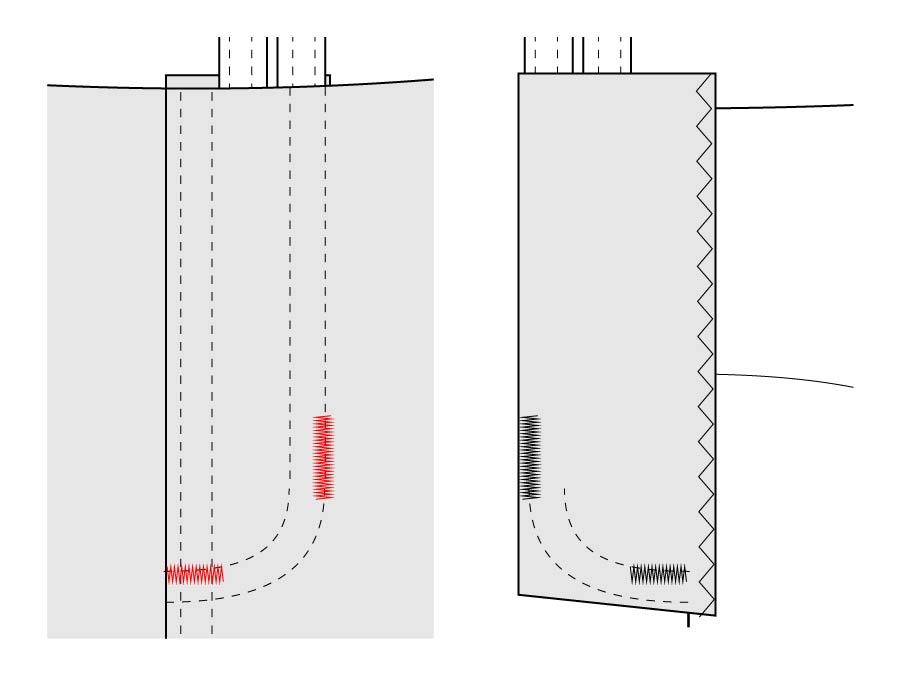
Also, when sewing the casing, I sewed it down from the inside, then I topstitched it again from the outside (maybe 1/32” from the original stitching lines), and finally I unpicked the original lines. The needle thread line was much nicer than the bobbin thread, I just had to. I also did this for the back storm flap and the hem. I omitted some of the front placket topstitching altogether; I did edgestitch the zipper on the right side as worn, because it looked even on both sides.
But I didn’t topstitch the seam between the overlap and the coat body. It might look consistent from the right side, but it looked sloppy from the inside. Instead I handstitched in the ditch and caught just the cotton lawn “interfacing” of the right facing, for a securing stitch that was functionally invisible.


I also omitted the topstitching from the zipper on the left as worn (same reason), and relied on the snaps to keep the facing in place.
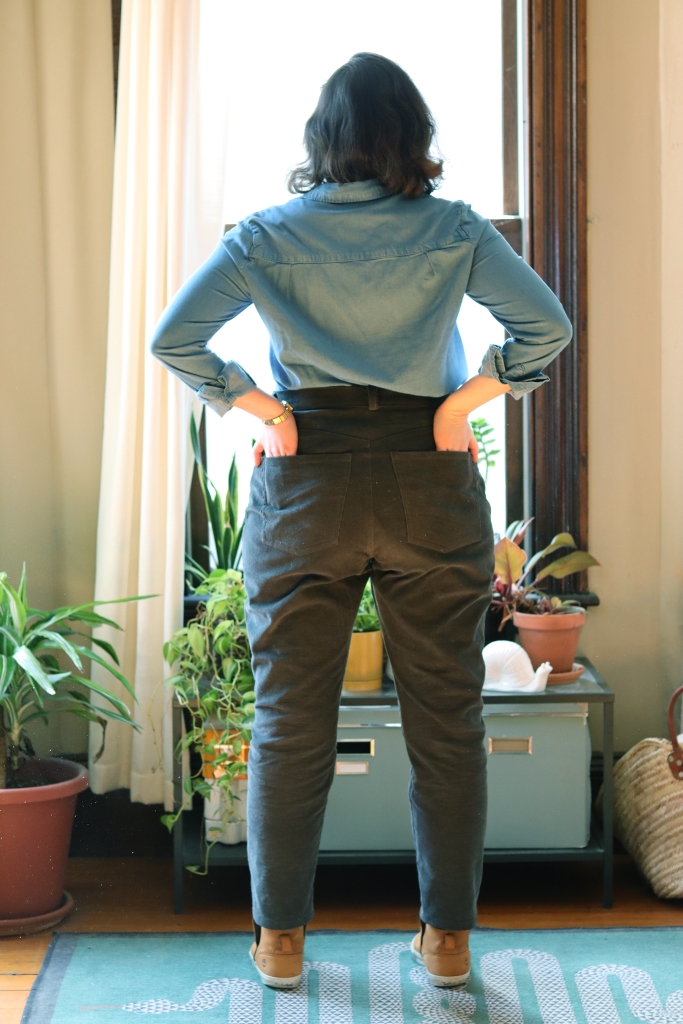
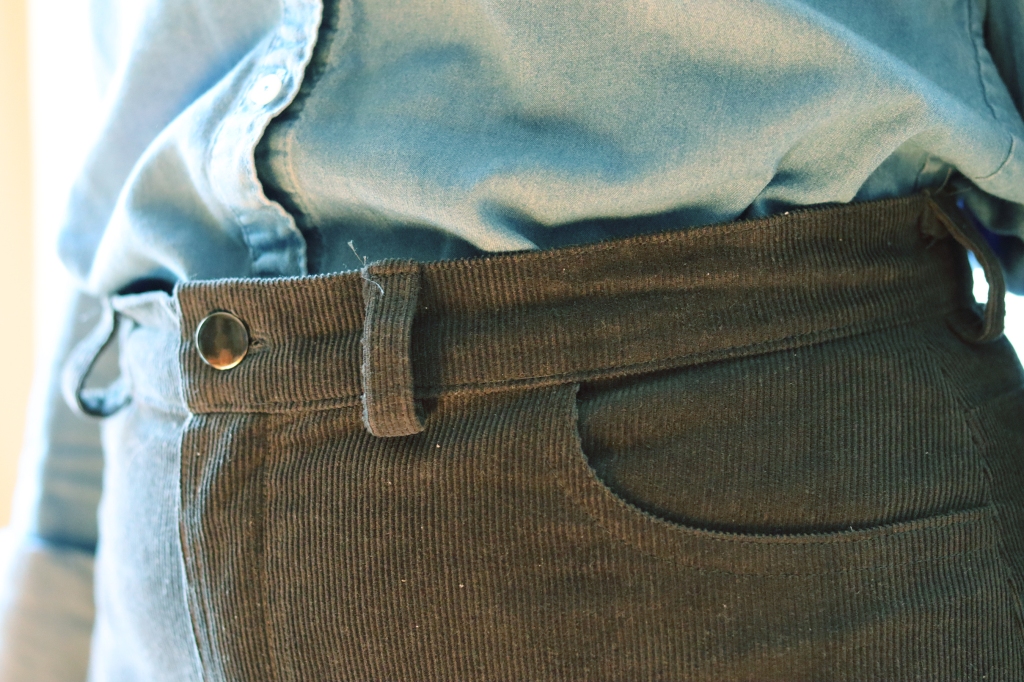
By the way, I measured the casing placement from the seam across the chest, not the hem, so I didn’t notice one gusseted pocket was about 2” lower than the other until I installed the eyelets. I guess I hadn’t transferred markings consistently from the paper pattern. So up moved the pocket – happily the fabric self-healed!

Another hot tip came from commenter Molly, who sealed the edges of her Taslan raincoat using a BIC lighter. This was perfect for my sleeve placket, where otherwise there would have been a raw edge or some tricky small seams. I didn’t have a lighter, so I used a birthday candle and melted that edge!

It totally worked and now I want to melt more things!
We don’t have to talk about the sleeve insertion.

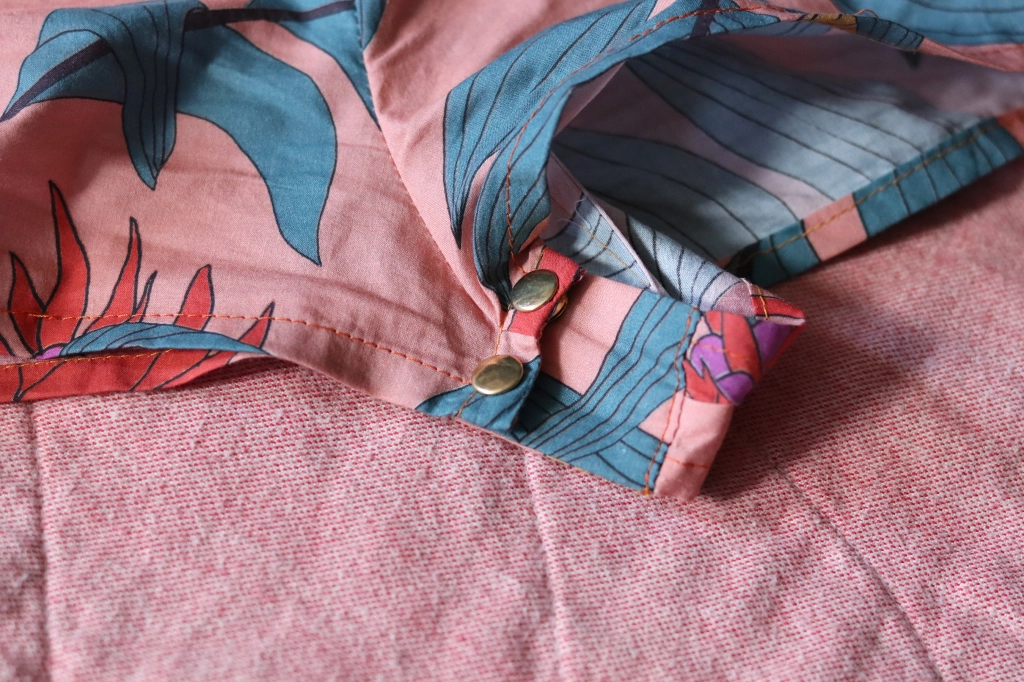
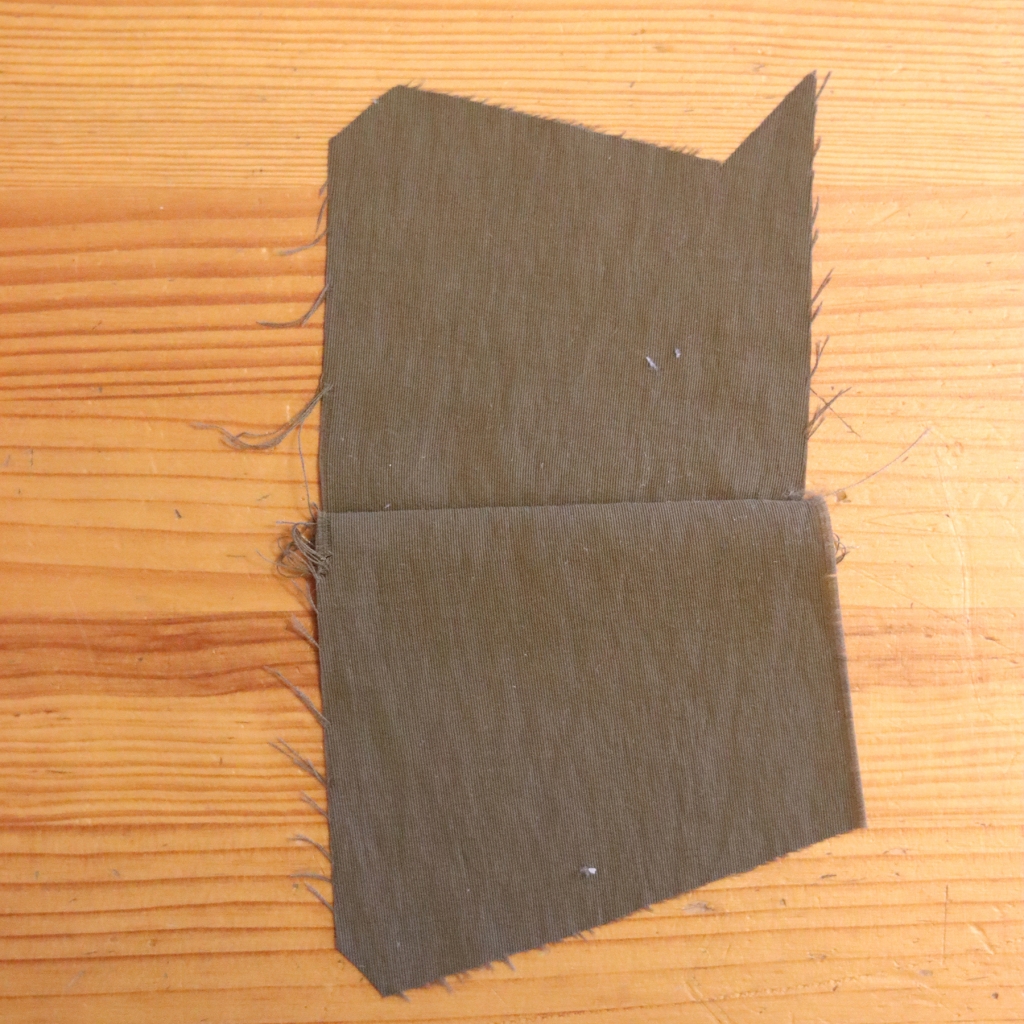
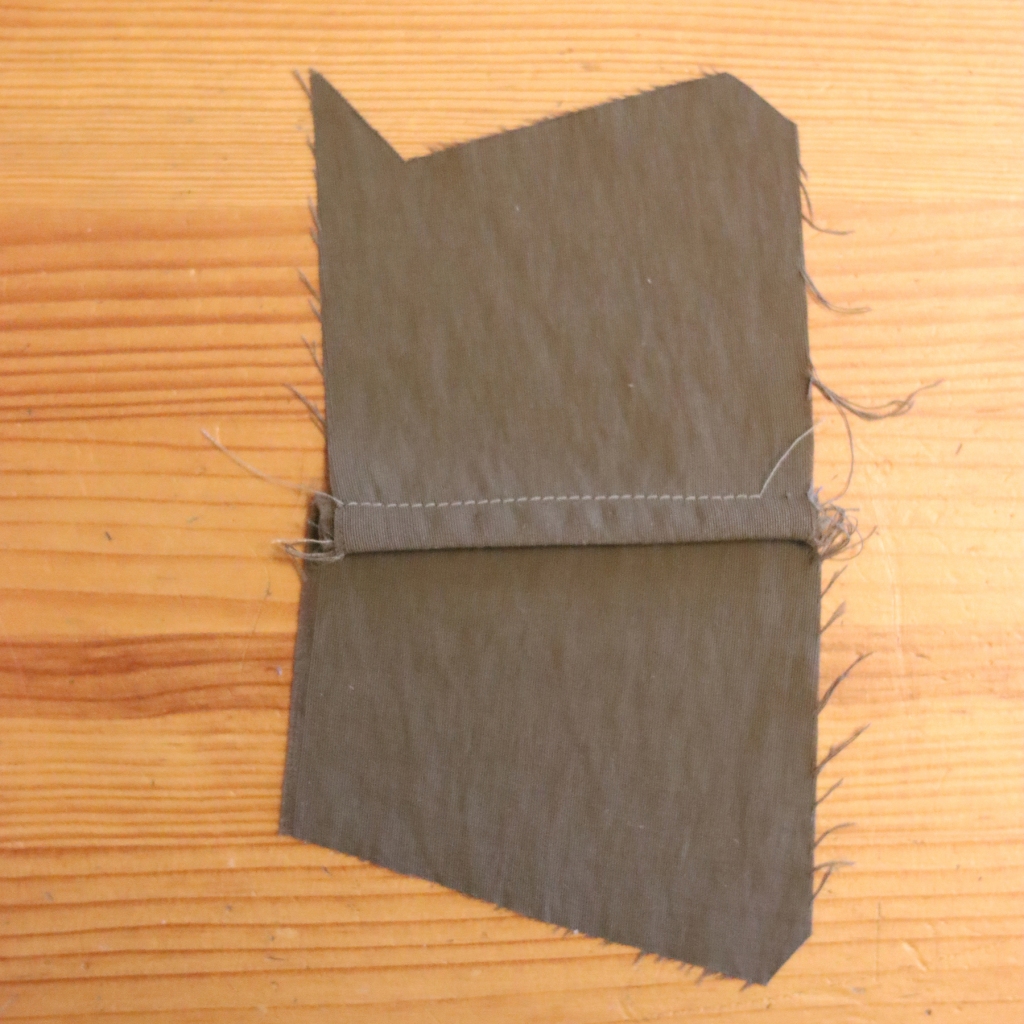
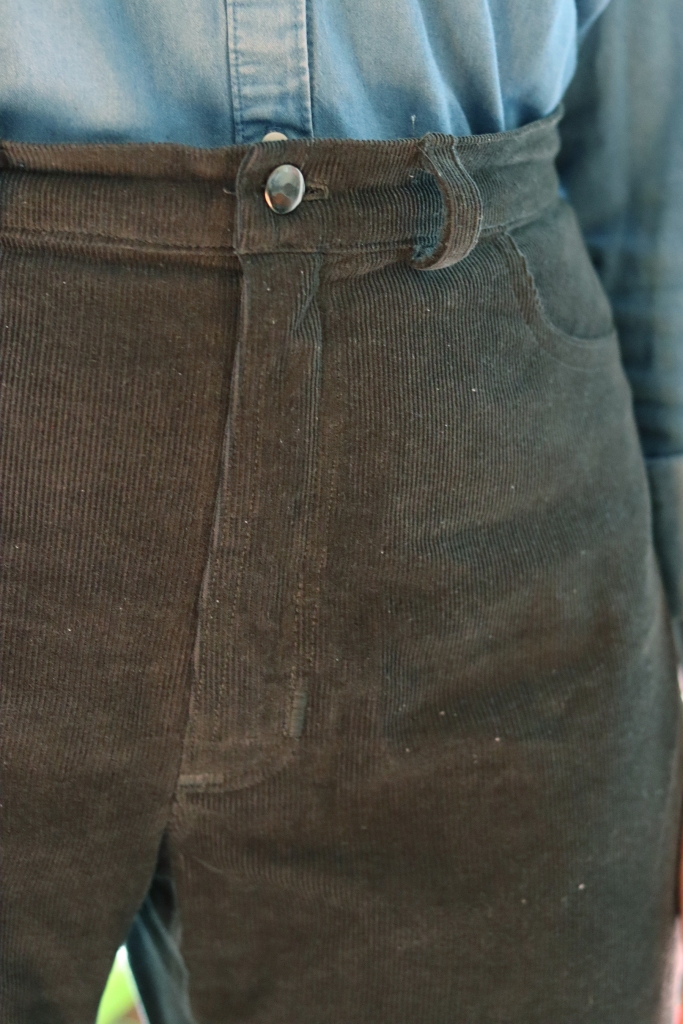
The collar, though: my first version was as-written, which uses two snaps and matches the width of the facing overlap.

But after adding the snaps I took a step back and realized that their relationship to each other made sense, but their relationship to the top button of the placket was just awful!! They seem to be a group of three, and not an evenly-spaced one!
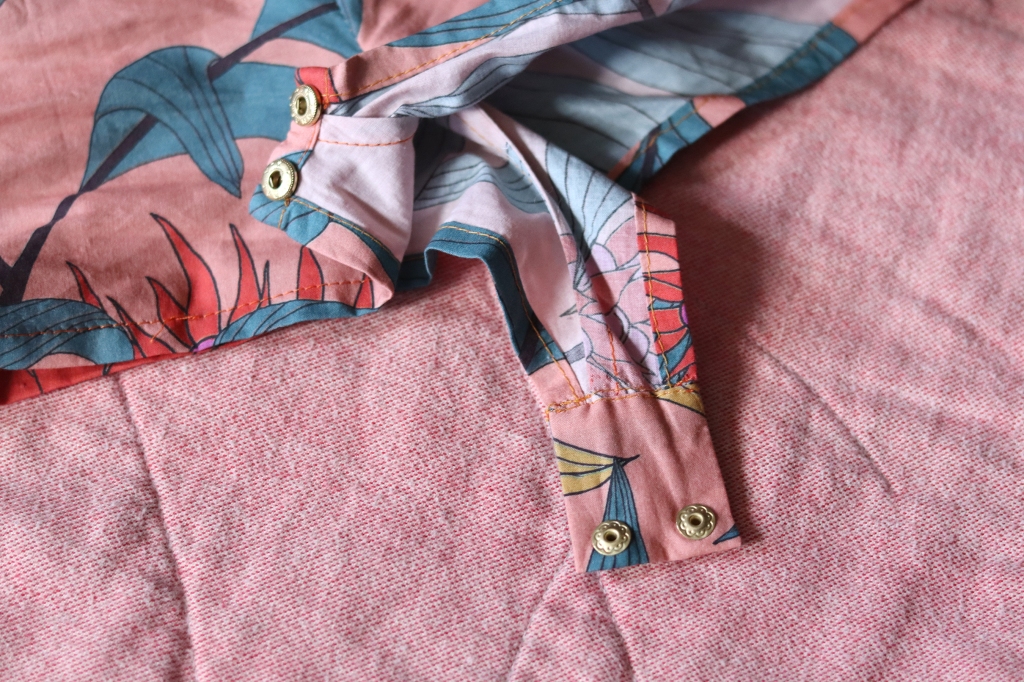
I tossed and turned on the idea of replacing the collar altogether, but what eventually decided me was the realization that I could reuse the inside snap panel (with new ends patched on) and not waste the five half-snaps. I also took the opportunity to shorten the collar height 1”, because I didn’t really like it coming up to my chin.

That took no time to tell, but believe me I stressssed about it. Luckily I had 2 extra snaps from the hardware kit. I’m saving one for the hood, and my new collar used the other one, so we’re on track.
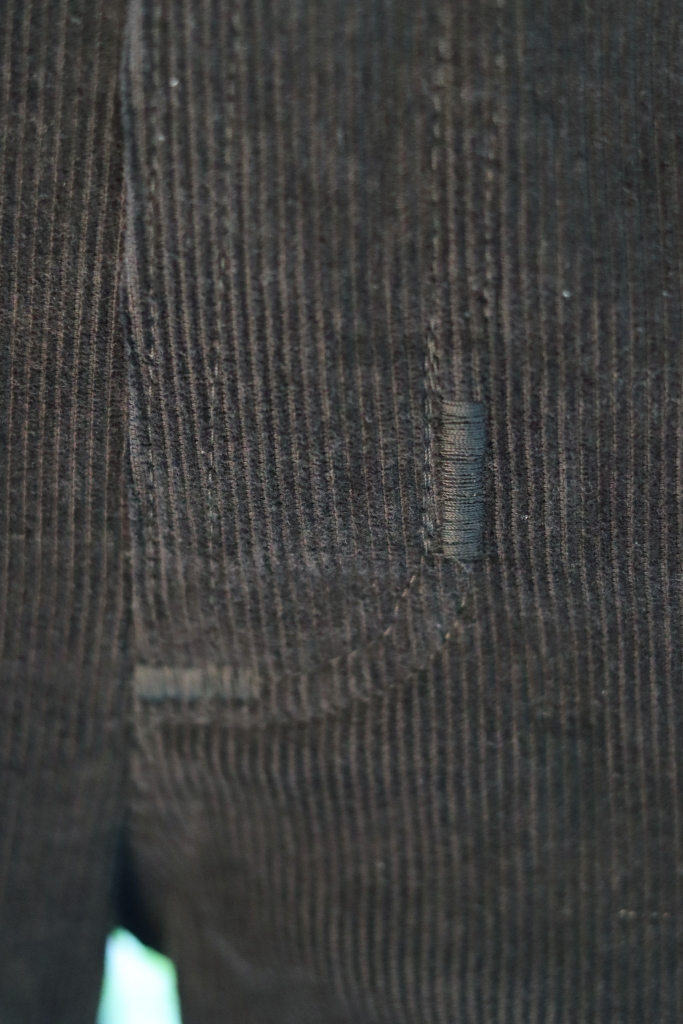
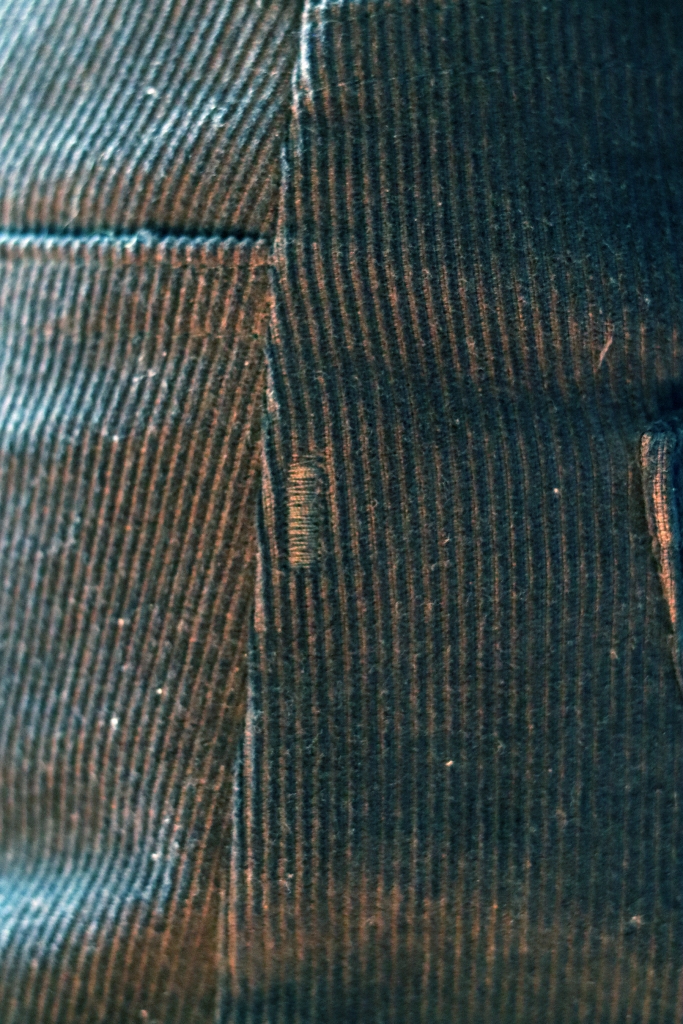
Installing the snaps took a long time (but I did it outdoors on a beautiful day so I wouldn’t disturb Mini-Muffin’s nap and ended up having lots of nice chats with neighbors – I guess hammering a raincoat in your driveway sparks conversations!) and unfortunately every snap “bottom” (“male part”, sigh) resulted in a run.

I don’t have a good tool to make that biggish hole, and my usual technique of widening an awl hole with a sharpened pencil wasn’t good enough. I ended up twisting my thread snips in the hole to create space, which was faintly nauseating, but thankfully I got away with it apart from the runs.
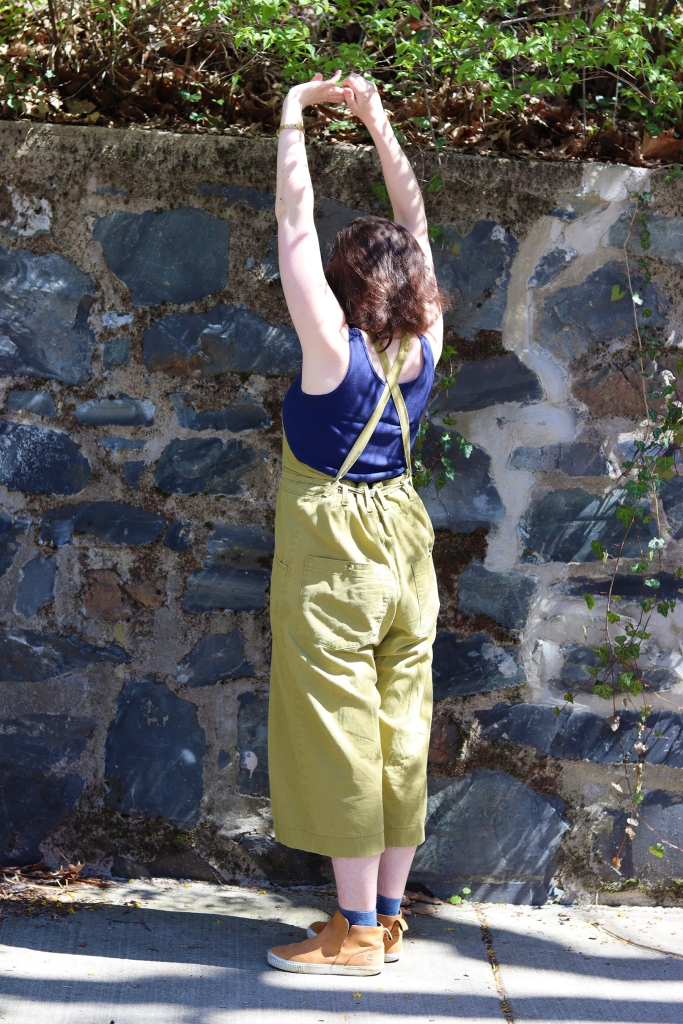
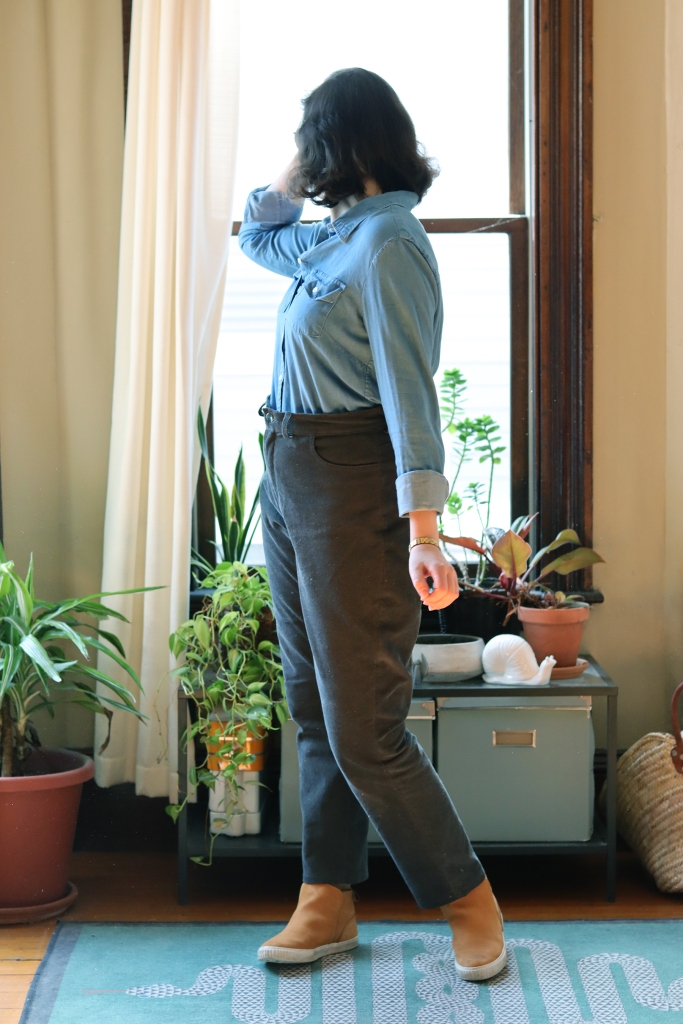
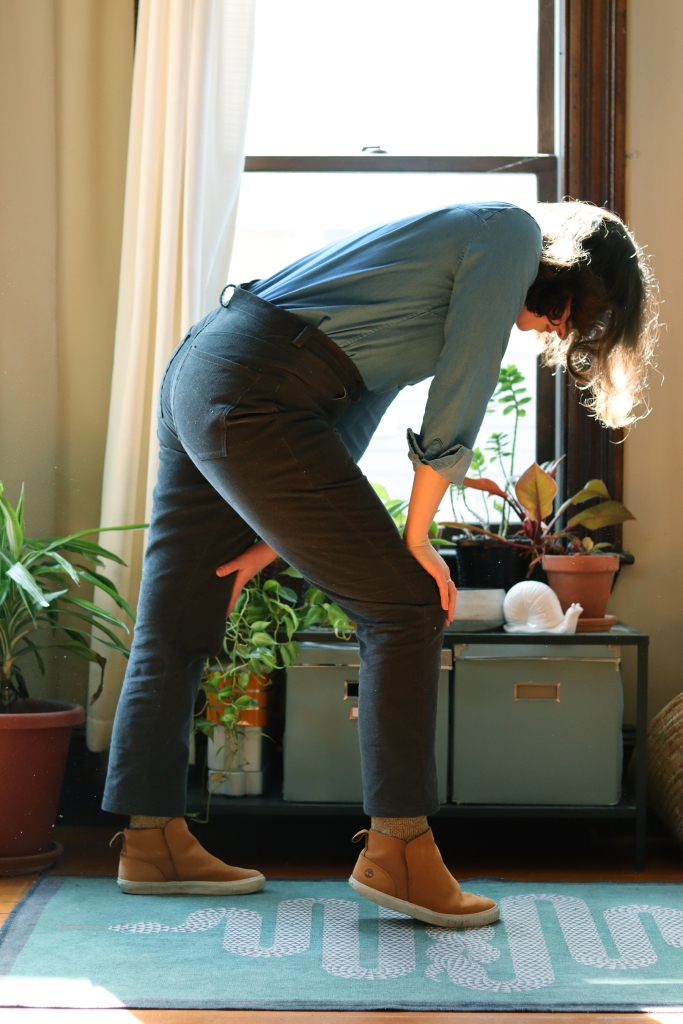
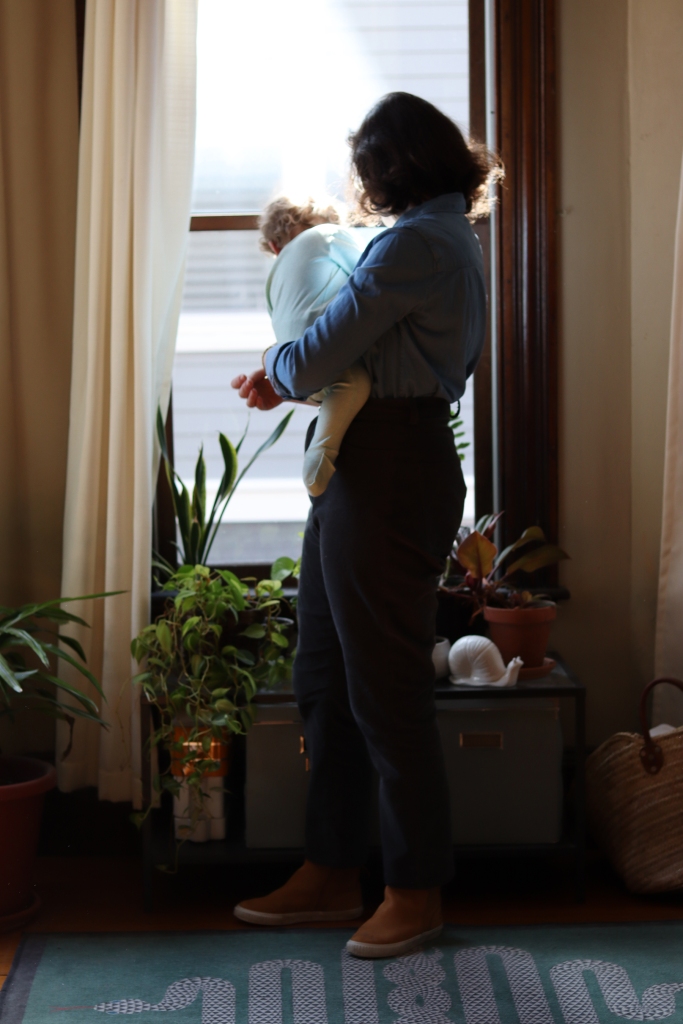
As with every extended project, the moment of “oh! I guess I’m done!” came as a bit of a surprise. And in this case, with a bit of disappointment. This coat is slim-cut. But I’m waffle-cut!! It still fits, it just fits a little more closely than I anticipated, and mysteriously more closely than my first twill Kelly, even though that one is underlined. I know this is at worst a sparkling wine problem – a layer that I can wear in the spring and summer is still useful, especially since this is a unlined coat, so it wasn’t providing insulation for fall or winter anyway – but this is just a little less functional than I hoped.


But it’s not like less-useful = useless. I’ll wear it for sure. And I’m grateful for all the good advice and conversation, and I look forward to not sewing Taslan again…
…Until I add a hood!
–
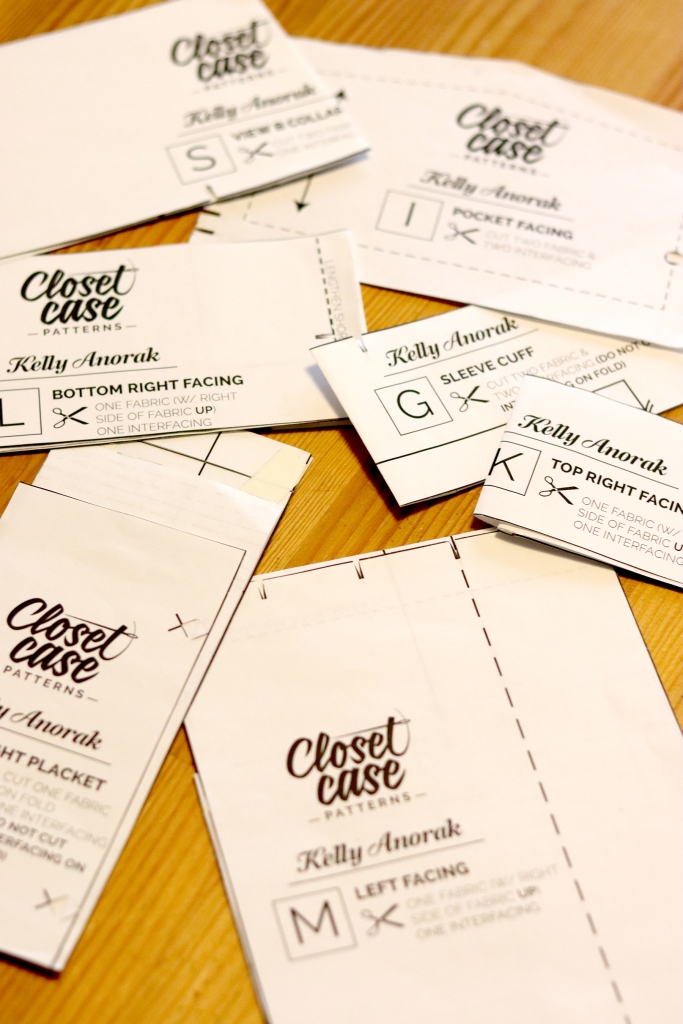
Pattern: Kelly Anorak
Pattern cost: NA
Size: 14
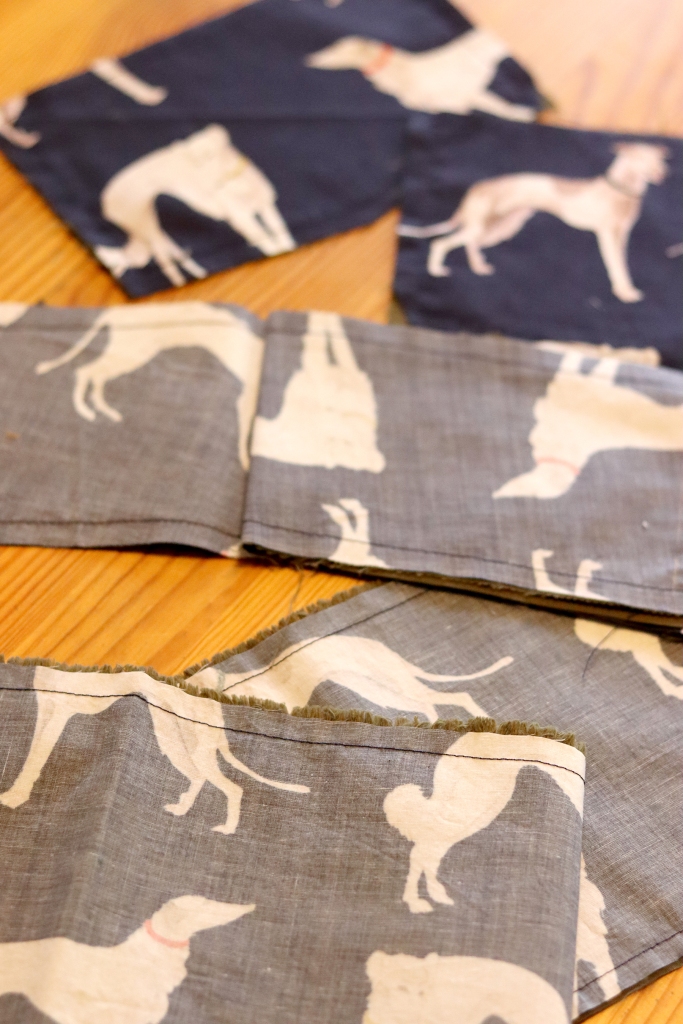
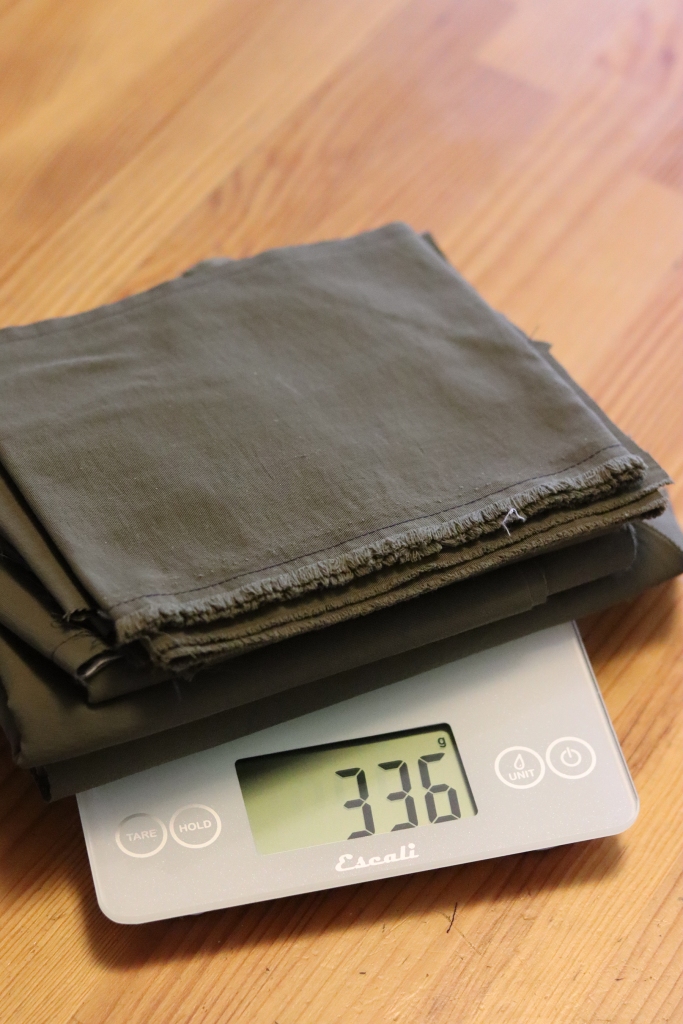
Supplies: 3 yards of 4-ply nylon Taslan – Olive, $51.96, The Rain Shed; Kelly hardware kit, CC; 1 yard of Kona cotton in (?) green, Gather Here; thread, Michael’s, $44.89
Total time: 21.75 hours
Total cost: $96.85


